Instant Connection for Pixel Streaming
— New Feature Automated Setup

Before You Start in Adobe Photoshop: A Practical Setup Checklist
Before You Start in Adobe Photoshop: A Practical Setup Checklist
DigitalArt
Before You Start in Adobe Photoshop: A Practical Setup Checklist
Table of Contents
Most Photoshop problems start before the first layer.
Not when you pick the wrong brush. Not when you forget a shortcut. Not even when you use too many effects because the file “still feels fine.” The real trouble usually starts earlier, when you open a blank document without deciding what kind of project you’re building, where the assets will live, how big the final file needs to be, or whether your machine can actually handle the work.
And Photoshop will let you do that. Happily.
It will let you drag in huge images from your Downloads folder, generate five AI variations, duplicate heavy Smart Objects, forget to name your layers, and keep working until the file becomes slow, messy, or annoying to hand off. The app is flexible enough to forgive bad setup for a while. That’s useful. It’s also why so many Photoshop files become painful later.
This isn’t a beginner tutorial. I’m not going to explain what layers are, where the toolbar is, or how to crop an image. This is a practical setup checklist for people who already use Photoshop and want their projects to start cleaner, run smoother, and survive client feedback without turning into final_final_v8.psd.
We’ll go through the decisions worth making before you start: file size, resolution, color mode, asset folders, layer structure, performance, scratch disks, AI-generated edits, export planning, and when it makes sense to use Vagon Cloud Computer instead of pushing your local machine harder than it wants to go.
The goal is simple: make Photoshop easier to work in before the file gets complicated.
#1. Define the project type
“Photoshop work” can mean almost anything.
A quick background removal. A product retouching job. A 20-layer social media graphic. A large print poster. A website hero image. A surreal Generative Fill composition with ten different versions hiding in the Layers panel.
All of those can happen in Photoshop. They should not all start the same way.
Before you create a document, get clear about the job the file has to do. Is this a fast edit you’ll export once and never touch again? Or is it a working PSD that a client, teammate, or future version of you will need to reopen?
That difference matters.
A simple social graphic might only need the right pixel dimensions, a few brand assets, and export settings for web. A print poster needs physical dimensions, resolution, bleed, color expectations, and probably more careful asset quality. A product retouching project needs clean source files, consistent naming, and a non-destructive workflow so you can revise without starting over.

AI-heavy Photoshop work needs even more planning. Generative Fill and Generative Expand are great for trying ideas quickly, but they can also turn a file into a stack of “maybe” layers. If you don’t decide where those variations go, your PSD can become messy before the composition is even good.
I’d put the project into one of these buckets before starting:
Quick edit or cleanup
Product retouching
Social media or marketing graphic
Print design
Website or app visual
Heavy compositing
AI-assisted image editing
Client campaign file
You don’t need to overthink it. Just name the type of work.
Because the project type decides almost everything that comes next: canvas size, resolution, color mode, folder structure, performance needs, export format, and whether your current device is enough for the job.
A 1080x1080 Instagram post and a 24x36 inch poster at 300 DPI are both Photoshop files. Treating them the same is how you end up fixing setup decisions halfway through the project.
#2. Set up the file first
The first few settings in a Photoshop file are easy to treat like placeholders.
Canvas size? Close enough.
Resolution? We’ll fix it later.
Color mode? Default is probably fine.
Artboards? Maybe, maybe not.
That casual setup works for quick edits. It gets risky when the file needs to become something specific.
Start with the final output. If the project is digital, work in exact pixel dimensions. A YouTube thumbnail, website hero, social ad, app store image, product banner, and email graphic all have different size requirements. Guessing here usually means cropping, stretching, rebuilding, or exporting three times because something looks slightly off.
If the project is for print, think in physical dimensions. Inches, centimeters, bleed, margins, and resolution matter. A poster is not just a bigger Instagram post. Print files need enough image data to hold up at the final size, and they often need different color handling depending on the printer or production workflow.
Color mode is another decision worth making early.
For most screen-based work, RGB makes sense. It gives you a broader color range and matches the way the final image will be viewed. For print, CMYK may be required, but I wouldn’t blindly convert everything at the start unless the printer, client, or production team asks for it. Some workflows stay in RGB longer and convert later using a specific profile.
The point is not that there’s one perfect answer. The point is that you should know why you’re choosing it.
Resolution is similar. People say “300 DPI” like it’s a magic spell. It isn’t. For print, 300 DPI is often a safe target, especially for pieces viewed up close. For digital work, pixel dimensions matter more than DPI. A 1920x1080 image is still 1920x1080 on screen whether the file says 72 DPI or 300 DPI.
Then decide whether you need artboards.
Artboards are useful when you’re creating multiple related outputs in one file: campaign graphics, ad sizes, social variations, web layouts, or design options. They’re less useful when the file is already going to be heavy or when each deliverable needs its own clean working file.
Before importing assets, check:
What is the final size?
Is this digital, print, or both?
Should the file be RGB or CMYK?
Do I need one canvas or multiple artboards?
Will this need to scale later?
What formats will I export?
This sounds basic. It is.
But basic setup mistakes are the ones that get expensive later, especially when the PSD already has masks, Smart Objects, text layers, AI-generated edits, and a deadline attached to it.
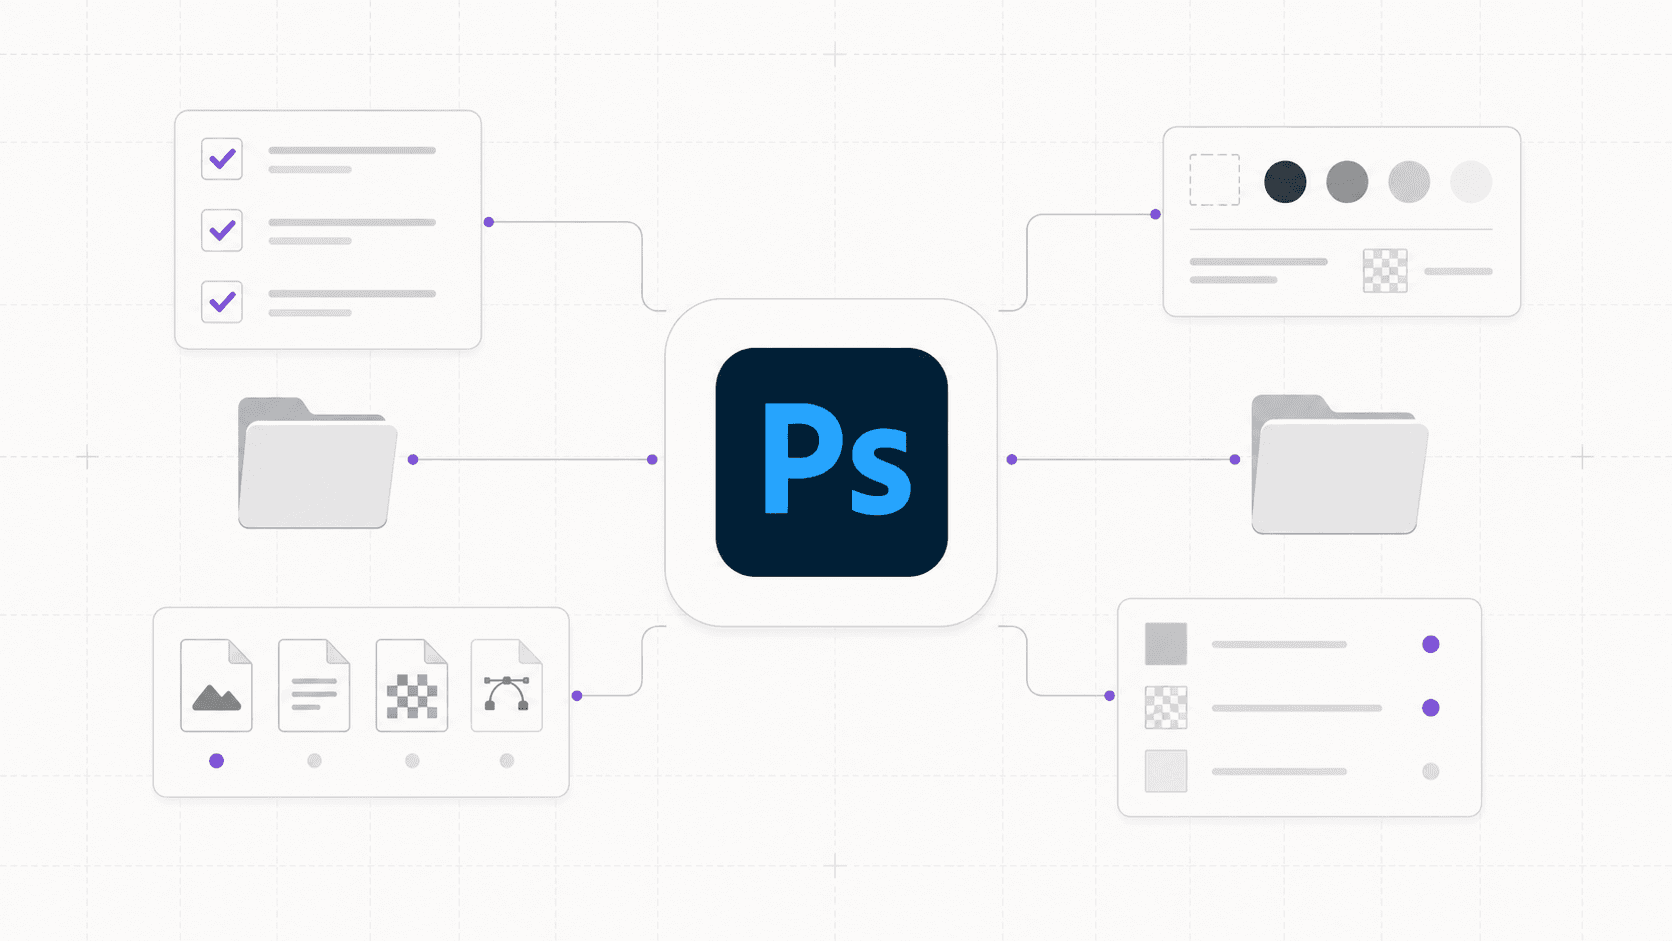
#3. Organize assets and layers
A Photoshop file rarely becomes messy inside Photoshop first.
It starts with the assets.
A logo from Slack. Product images in Downloads. A background from an email attachment. A font file on the desktop. A reference screenshot named Screenshot 2026-06-24 at 10.48.12.png. Then everything gets dragged into the canvas, and somehow the PSD is expected to stay organized.
It won’t.
Before you import anything, create a project folder. It doesn’t need to be complicated. It just needs to separate the important parts of the job.
A simple structure works:
project-name/
source/
psd/
exports/
references/
fonts/
ai-generated/
Use source for untouched original files. Use psd for working Photoshop files. Use exports for final or review-ready images. Use references for moodboards, screenshots, brand examples, or client notes. Use fonts if you’re not relying entirely on synced fonts. Use ai-generated for anything created with Generative Fill, Generative Expand, or other AI tools.
That last folder matters more now than it did a few years ago.
AI tools make it incredibly easy to create options. That’s useful, but it also means assets multiply fast. If every generated variation stays hidden somewhere inside the PSD, you’ll end up scrolling through layers instead of making decisions. Save the strongest outputs, name them clearly, and delete the obvious failures.

Inside Photoshop, build the file with the same logic.
For a client-facing PSD, I’d usually start with groups like:
Background
Subject
Retouching
Text
Color
Effects
AI Variations
Exports
Archive
You can adjust the names based on the project, but the point is to group by purpose. Not by accident. A layer stack full of Layer 12 copy 3 is fine for ten minutes, then it becomes a tax on every future edit.
File naming is part of this too.
Use names that tell you what the file is and where it sits in the process:
campaign-hero_v01.psd
campaign-hero_v02.psd
campaign-hero_client-review.psd
campaign-hero_final.psd
Avoid the classic disaster:
final.psd
final2.psd
final_new.psd
final_REAL.psd
final_REAL_use_this.psd
No judgment. We’ve all made at least one haunted file.
One more thing: if you’re using Linked Smart Objects, keep the linked files inside the project folder. Otherwise, the PSD may open fine on your machine and break the moment someone else opens it. Missing linked assets are not a creative problem. They’re a setup problem.
Good organization won’t make the design better by itself. But it gives you more room to make the design better because you’re not wasting energy hunting for the right image, font, layer, or version.
#4. Check device performance
Photoshop can feel lightweight until the file gets serious.
A few layers? Fine. A small web graphic? Usually fine. Then you add high-resolution source images, Smart Objects, masks, adjustment layers, text, Generative Fill variations, maybe another Adobe app running in the background, and suddenly every small action has a pause attached to it.
That pause matters. It breaks flow.
Before you start a heavier Photoshop project, check whether your device is actually ready for it. Not in a dramatic “you need the most expensive workstation” way. More like: is this machine a good place to build this specific file?
Start with RAM. Adobe lists 8 GB as the minimum for Photoshop, but recommends 16 GB or more. That gap says a lot. Minimum means Photoshop can run. It does not mean a large layered PSD will feel smooth, especially if you’re also running a browser, Lightroom, Illustrator, Slack, or a video call.
If you’re planning a hardware upgrade specifically for Photoshop, this guide to the best GPU for Photoshop can help you compare what kind of graphics card makes sense for your workflow.
Storage is next. Photoshop needs free disk space, not just for saving the PSD, but for temporary working files. If your drive is almost full, performance can get ugly fast. A fast SSD helps, and Adobe recommends using a fast drive for better performance, especially when scratch disks come into play.

Scratch disks are one of those Photoshop topics people ignore until the warning appears.
Photoshop uses scratch disk space when it needs more working memory. If the scratch disk is slow, full, or sitting on the same overloaded system drive as everything else, you’ll feel it. Big image files, multiple history states, Smart Objects, and AI-assisted edits can all push Photoshop harder.
GPU matters too, though not every Photoshop user needs to obsess over it. For basic edits, you may be fine. For large documents, smooth zooming and panning, modern display features, high-resolution monitors, and some newer workflows, the GPU can become more noticeable.
Ask a few practical questions before committing the project to your current setup:
How much RAM do I have available?
Is my drive close to full?
Is Photoshop using a fast scratch disk?
Am I working from a slow external drive?
Will this PSD get large because of Smart Objects or high-resolution assets?
Will I use Generative Fill or create many AI variations?
Do I need other Adobe apps open at the same time?
That last one is easy to underestimate. Photoshop rarely works alone. A real creative workflow might include Illustrator for logos, Lightroom for photos, Bridge for browsing, After Effects for motion assets, a browser full of references, and a chat app where feedback keeps arriving.
Your computer doesn’t care that each app is “part of the process.” It just sees the load.
If the project is small, don’t overcomplicate it. A lightweight laptop can be perfectly fine for simple edits and smaller graphics. But if you already know the PSD will be heavy, it’s better to think about performance before the file starts fighting back.
If you’re trying to understand how GPU performance actually affects Photoshop, Vagon’s guide on how to use GPU on Adobe Photoshop breaks down where the GPU matters and where it doesn’t.
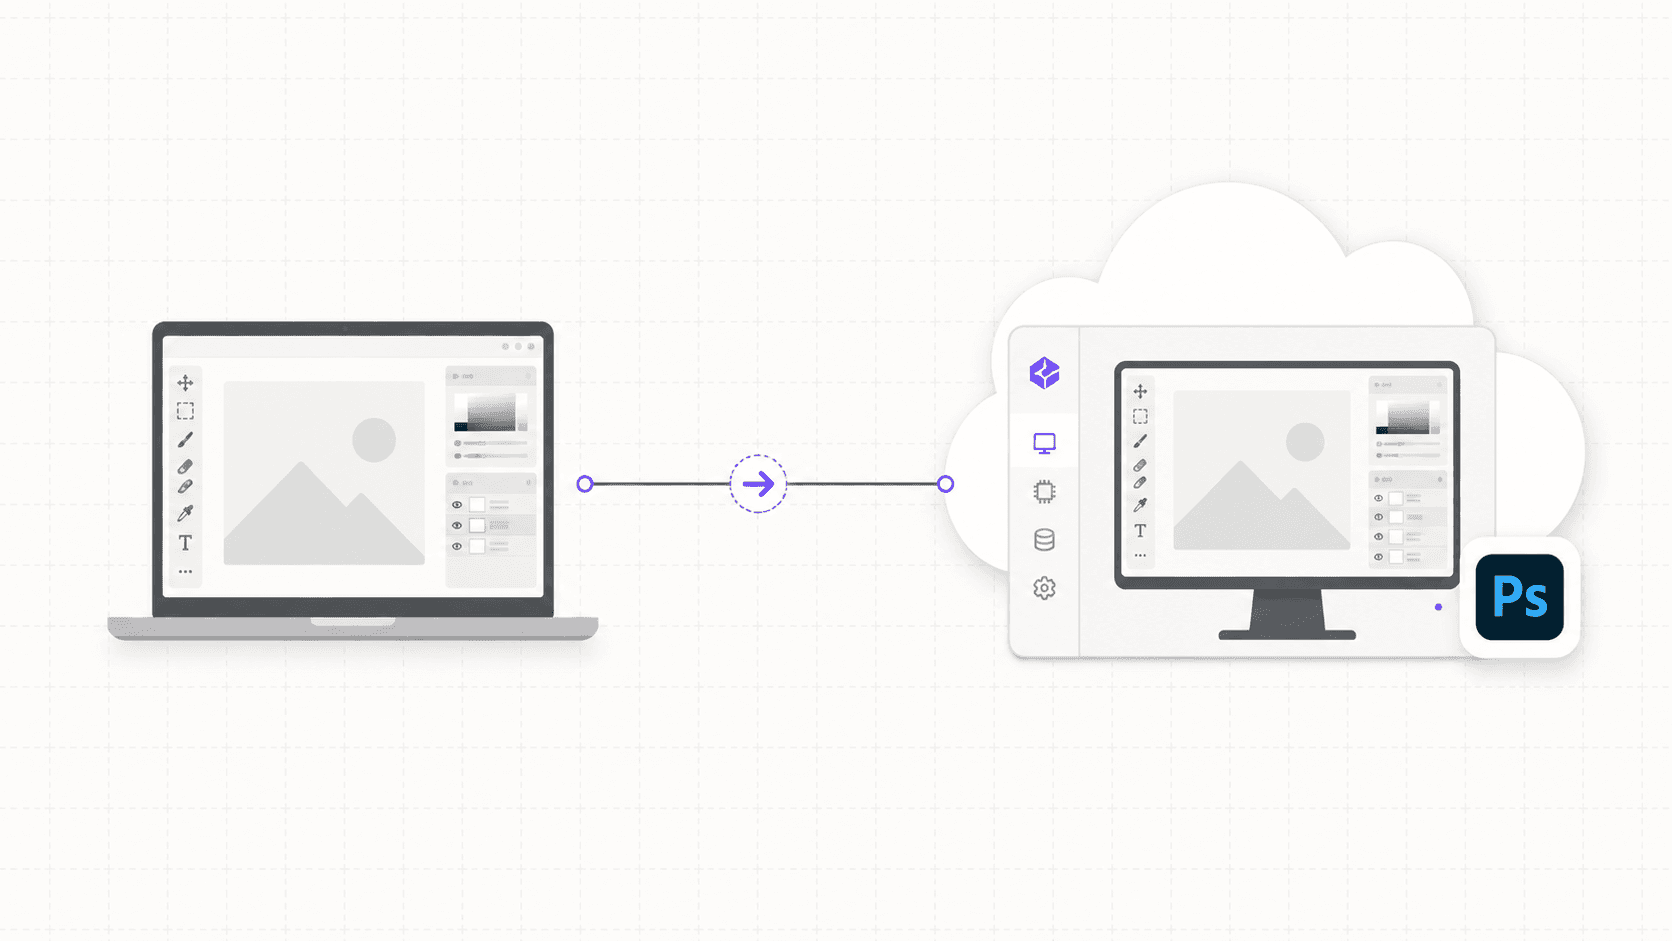
#5. Consider Vagon Cloud Computer
Not every Photoshop project needs Vagon Cloud Computer.
A quick crop, a simple background cleanup, a small web graphic, a meme for the team chat. Those are not the moments where you need to rethink your workstation. If your local machine handles the file comfortably, keep working. Simple is good.
But Photoshop projects do not always stay simple.
A file that starts as a few product images can become a layered campaign visual with Smart Objects, masks, text, adjustment layers, AI variations, and multiple export formats. A quick concept can turn into a client presentation. A laptop that felt fine in the morning can start struggling by the third round of changes.
That is where Vagon Cloud Computer becomes worth considering.
Vagon Cloud Computer gives you access to a high-performance computer in the cloud, so you can run demanding creative software from a device that may not be powerful enough on its own. Instead of depending only on the RAM, GPU, storage, and thermal limits of your local machine, you work from a cloud computer built for heavier creative workloads.
For Photoshop users, that can matter in a few specific situations.
If you’re working from a lightweight laptop, your device may be great for writing, browsing, reviewing, and quick edits, but not ideal for a heavy PSD with large assets. Vagon Cloud Computer can give you a more capable workspace without forcing you to buy a new workstation for occasional demanding projects.
If your file includes high-resolution images, many Smart Objects, or a lot of AI-generated variations, performance can become uneven. The issue is not that Photoshop is broken. It’s that the project has outgrown the machine you’re using.
If you move between devices, a cloud computer can also make the workflow more consistent. You are not rebuilding the same Photoshop setup on every machine or wondering which laptop has the right files, fonts, plugins, and performance headroom. You connect to the same environment and keep working.
If your workflow often moves between desktop and tablet, you may also want to read Vagon’s guide on how to use Photoshop on iPad.
Remote work is another case. Maybe you’re traveling. Maybe you’re using a MacBook Air but need more power for a specific project. Maybe your office workstation is not available. Maybe you want a controlled setup for a short-term client job. Vagon Cloud Computer can help turn a weaker local device into an access point for a stronger working environment.
The key is knowing when it actually makes sense.
Use Vagon Cloud Computer when the bottleneck is hardware, access, or consistency:
Your local machine slows down with large PSDs
You need to work with high-resolution assets
You rely on Smart Objects, masks, and many layers
You’re using AI features and generating multiple variations
You want a consistent Photoshop environment across devices
You don’t want to buy a new workstation for occasional heavy work
You need to work remotely without compromising performance
Don’t use it as a bandage for bad file hygiene. If the PSD is a mess, a stronger machine might make the mess move faster, but it won’t make the file easier to understand. You still need clean folders, named layers, sensible AI variation management, and a clear export plan.
That’s why Vagon Cloud Computer fits best as part of the setup decision, not as a last-minute rescue.
Before you start, ask yourself: is this project likely to outgrow my local machine?
If the answer is no, keep it local. If the answer is yes, setting up the project on Vagon Cloud Computer from the beginning may save you from lag, storage issues, device switching problems, and the slow realization that your hardware has become part of the creative process.
And honestly, Photoshop work already has enough moving parts. Your computer should not be the thing making the project harder.
If you’re working from a Chromebook, Vagon also has a dedicated guide on how to run Adobe Photoshop on Chromebook without relying on local hardware.
#6. Keep the file editable
The fastest Photoshop move is not always the smartest one.
Flatten the layer. Erase the edge. Merge the group. Paint over the problem. Export and hope nobody asks for changes.
Sometimes that’s fine. If you’re making a quick one-off image and you know you’ll never revisit it, speed matters more than elegance. But most real Photoshop projects do come back. A client wants a different crop. The product color changes. The headline gets rewritten. The AI-generated background almost works, but one corner looks strange.
That’s when destructive editing starts charging interest.
Build the file so you can still change your mind.
Smart Objects are the obvious starting point. If you’re placing a logo, product image, UI screenshot, illustration, or generated asset that might need to be resized or swapped later, make it a Smart Object. You can transform it, scale it, apply filters, and still preserve the original source better than if you keep rasterizing everything too early.
Adjustment Layers are another habit worth using from the beginning. Instead of applying color, contrast, brightness, curves, hue, saturation, or black-and-white changes directly to an image, keep them editable. It takes a few extra seconds. It saves you when someone says, “Can we make it warmer, but less yellow?” which is somehow a normal sentence in creative work.
Layer Masks are usually better than erasing. Erasing feels clean until you need part of the image back. A mask lets you hide and reveal without damaging the original pixels. For retouching, compositing, product imagery, and AI-assisted edits, that flexibility matters.

Generative Fill deserves its own discipline.
It is easy to treat AI-generated layers like disposable experiments, but they become part of the file quickly. If you use Generative Fill to extend a background, remove an object, or create visual options, keep the useful variations organized. Don’t leave them scattered across the Layers panel.
A simple structure helps:
AI Variations
background-extend_v01
background-extend_v02
object-removal_clean
product-shadow_option-a
client-option_b
You do not need to keep every generated result. In fact, you probably shouldn’t. Save the strong options, delete the obvious failures, and export reference images if you want to keep a visual record outside the PSD.
This is where performance and organization meet. A PSD full of unused AI variations, duplicated Smart Objects, and unnamed masks can get heavy fast. Even on a strong machine, a messy file slows decision-making. On a weaker machine, it can slow everything.
If you are working on Vagon Cloud Computer, you may have more performance headroom, which is useful for larger layered files. But the same rule still applies: more power does not replace good structure. It just gives your structure more room to breathe.
The goal is not to make a perfect Photoshop file. Perfect files are usually a myth.
The goal is to make a file that still makes sense tomorrow.
If Photoshop is already crashing before you even get to the creative part, this breakdown of common Photoshop crash reasons is a useful place to troubleshoot first.
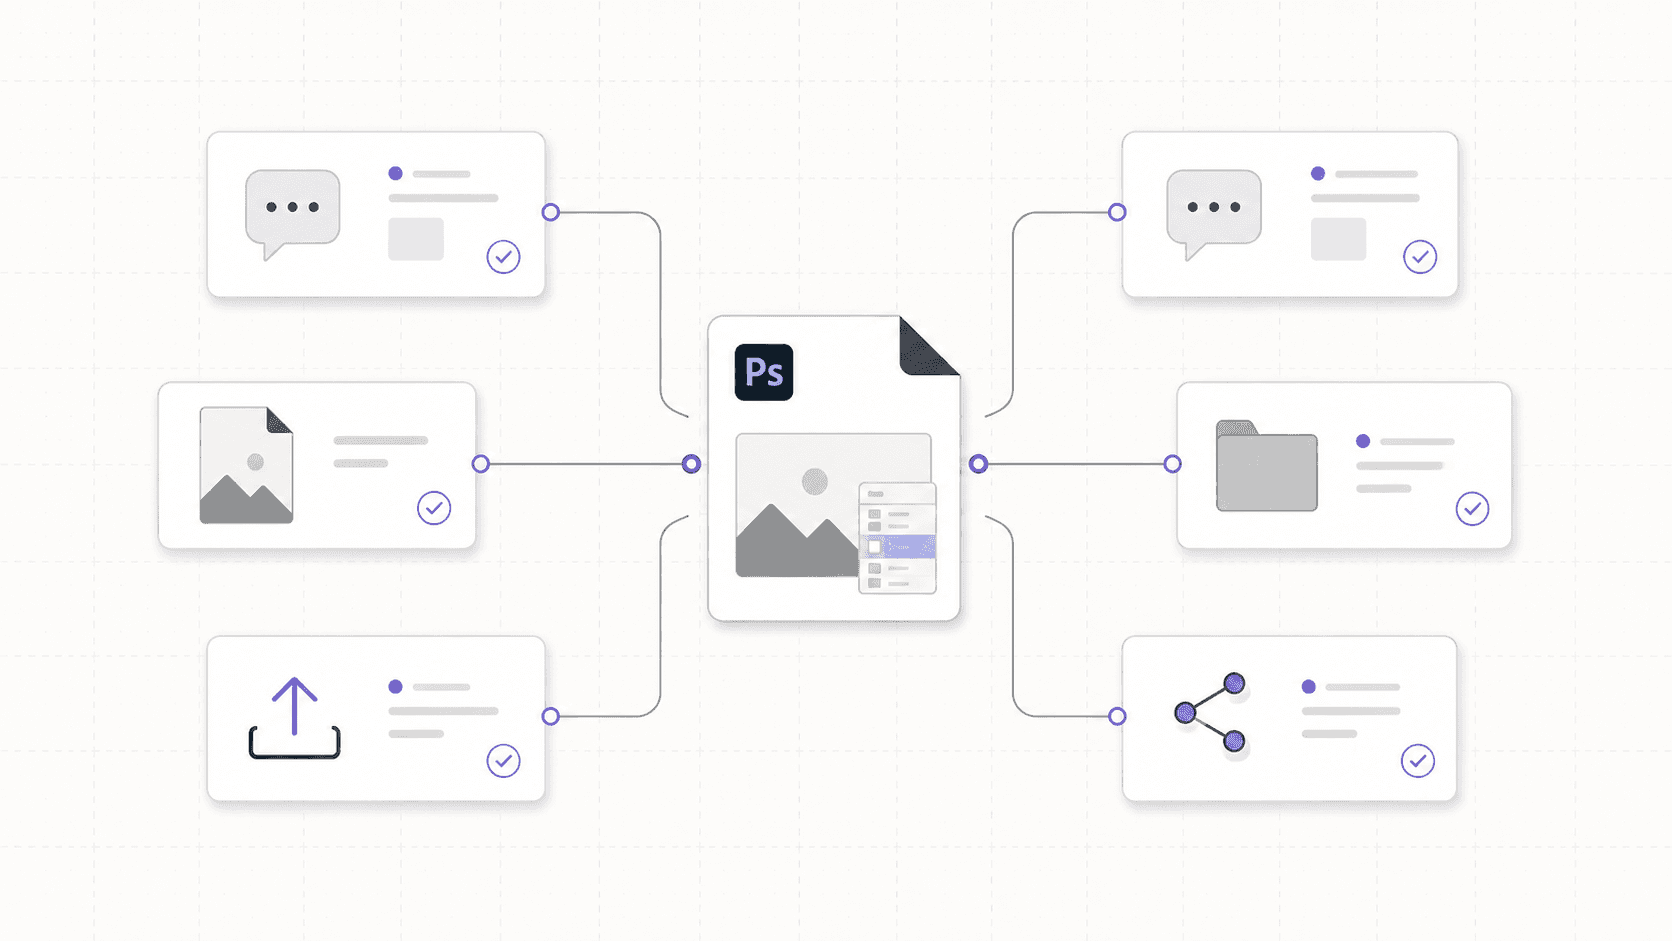
#7. Plan review and handoff
A Photoshop project is not really finished when it looks finished.
It still has to leave Photoshop.
Someone might need to review it, approve it, resize it, export it, translate it into another format, or open the PSD six weeks later when nobody remembers why there are three different shadow groups. The handoff is part of the work, even if it happens after the fun part.
Start with review.
What does the reviewer actually need to see? A client usually does not need the full PSD. They need a clear image, a few options, maybe a side-by-side comparison, and a way to give feedback without breaking anything. Sending the working file too early can create confusion, especially if the file is large, layered, or full of unfinished experiments.
For internal teams, the review process might be different. A designer may need the PSD. A marketer may only need a JPG. A developer may need compressed web assets. A print vendor may need a PDF, TIFF, or specific color profile. One file can serve multiple people, but not through the same export.
Decide the export formats before the end.
Common Photoshop outputs include:
PSD for editable handoff
JPG for lightweight previews
PNG for transparency
TIFF for high-quality image workflows
PDF for print or review
WebP for web performance
Layered files for design teams
The right format depends on where the image goes next. A blog header and a billboard do not need the same export. A client preview and a production handoff should not be treated the same either.
Versioning matters here too.
If you send three options, name them clearly:
campaign-hero_option-a.jpg
campaign-hero_option-b.jpg
campaign-hero_option-c.jpg
If you revise after feedback:
campaign-hero_v03_client-review.jpg
campaign-hero_v04_final.jpg
Not exciting. Very useful.
For PSD handoff, include the supporting pieces. Linked assets, fonts or font notes, source files, AI-generated references, and export specs should travel with the project. If someone opens your PSD and immediately sees missing links, missing fonts, or mystery layers, the handoff has already failed.
A short handoff note can save a lot of guessing:
Main file: campaign-hero_v04.psd
Exports: /exports/final/
Source files: /source/
AI references: /ai-generated/
Fonts: Adobe Fonts, synced
Main editable groups: Subject, Text, Color, AI Variations
Do not edit: Archive
Final formats needed: JPG, PNG, WebP
This is also where Vagon Cloud Computer can help if the work needs to move between devices or people.
If the project lives on a powerful cloud machine, you can keep the Photoshop environment more consistent instead of passing a heavy workflow between underpowered local devices. That can be useful for remote teams, freelancers switching machines, or anyone who needs to continue working from a different setup without rebuilding everything from scratch.
Still, the same rule applies: do not make people hunt.
Whether you work locally or on Vagon Cloud Computer, the file should explain itself. Clear folders, named exports, linked assets in the right place, and a PSD that another person can open without needing a detective board.
The best handoff is boring.
Everything is where it should be. Nothing is missing. Nobody has to ask which file is final.
Before you start: the quick Photoshop checklist
You do not need to run a giant production checklist before every Photoshop file.
If you’re cropping one image, fixing a tiny blemish, or making a quick internal graphic, don’t turn setup into theater. Open Photoshop, do the work, export the file.
But when the project is bigger, slower, client-facing, AI-assisted, or likely to be reopened later, a short checklist can save you from a very annoying afternoon.
Area | What to check before you start |
|---|---|
Project type | Know whether this is a quick edit, a layered working file, a print piece, a digital asset, or something someone else will edit later. |
File setup | Confirm the canvas size, resolution, color mode, artboards, and expected export formats before you build too much. |
Assets and folders | Create a project folder, separate source files from exports, collect fonts, logos, references, and keep linked files easy to find. |
Performance | Check RAM, free disk space, scratch disk setup, storage speed, and whether the file is likely to become heavy. |
Vagon Cloud Computer | If the project will use large assets, many layers, AI variations, or a lightweight laptop, consider starting on Vagon Cloud Computer early. |
Editable workflow | Use Smart Objects, Adjustment Layers, masks, clear layer groups, and an AI variations group where they make sense. |
Review and handoff | Decide how the work will be reviewed, where exports will live, and whether someone else can understand the PSD later. |
The checklist is not there to slow you down. It is there to catch the boring problems early, before they become creative problems.
A Photoshop file can survive a lot of improvisation. That’s part of the charm. But the larger the project gets, the more your setup matters.
Start clean. Then make the mess on purpose.
FAQs
1. Do I need a powerful computer for Adobe Photoshop?
Not for every Photoshop project. Simple edits and small graphics can run fine on many modern laptops. But large PSDs, high-resolution assets, Smart Objects, AI-generated variations, and multiple Adobe apps open at once can push your machine harder.
2. What should I set up before starting a Photoshop project?
At minimum, decide your canvas size, resolution, color mode, folder structure, asset location, export formats, and whether your device can handle the project comfortably.
3. When should I use Vagon Cloud Computer for Photoshop?
Use Vagon Cloud Computer when your local machine becomes the bottleneck: large files, limited RAM, weak GPU, low storage, remote work, device switching, or AI-heavy Photoshop workflows.
4. Should I use RGB or CMYK in Photoshop?
Use RGB for most digital work. For print, CMYK may be required, but it depends on the printer and production workflow. If a printer gives you a specific profile or requirement, follow that.
5. How do I keep Photoshop files organized?
Create a project folder, keep source files separate, name PSD versions clearly, group layers by purpose, and keep AI-generated variations in their own group or folder.
Most Photoshop problems start before the first layer.
Not when you pick the wrong brush. Not when you forget a shortcut. Not even when you use too many effects because the file “still feels fine.” The real trouble usually starts earlier, when you open a blank document without deciding what kind of project you’re building, where the assets will live, how big the final file needs to be, or whether your machine can actually handle the work.
And Photoshop will let you do that. Happily.
It will let you drag in huge images from your Downloads folder, generate five AI variations, duplicate heavy Smart Objects, forget to name your layers, and keep working until the file becomes slow, messy, or annoying to hand off. The app is flexible enough to forgive bad setup for a while. That’s useful. It’s also why so many Photoshop files become painful later.
This isn’t a beginner tutorial. I’m not going to explain what layers are, where the toolbar is, or how to crop an image. This is a practical setup checklist for people who already use Photoshop and want their projects to start cleaner, run smoother, and survive client feedback without turning into final_final_v8.psd.
We’ll go through the decisions worth making before you start: file size, resolution, color mode, asset folders, layer structure, performance, scratch disks, AI-generated edits, export planning, and when it makes sense to use Vagon Cloud Computer instead of pushing your local machine harder than it wants to go.
The goal is simple: make Photoshop easier to work in before the file gets complicated.
#1. Define the project type
“Photoshop work” can mean almost anything.
A quick background removal. A product retouching job. A 20-layer social media graphic. A large print poster. A website hero image. A surreal Generative Fill composition with ten different versions hiding in the Layers panel.
All of those can happen in Photoshop. They should not all start the same way.
Before you create a document, get clear about the job the file has to do. Is this a fast edit you’ll export once and never touch again? Or is it a working PSD that a client, teammate, or future version of you will need to reopen?
That difference matters.
A simple social graphic might only need the right pixel dimensions, a few brand assets, and export settings for web. A print poster needs physical dimensions, resolution, bleed, color expectations, and probably more careful asset quality. A product retouching project needs clean source files, consistent naming, and a non-destructive workflow so you can revise without starting over.
AI-heavy Photoshop work needs even more planning. Generative Fill and Generative Expand are great for trying ideas quickly, but they can also turn a file into a stack of “maybe” layers. If you don’t decide where those variations go, your PSD can become messy before the composition is even good.
I’d put the project into one of these buckets before starting:
Quick edit or cleanup
Product retouching
Social media or marketing graphic
Print design
Website or app visual
Heavy compositing
AI-assisted image editing
Client campaign file
You don’t need to overthink it. Just name the type of work.
Because the project type decides almost everything that comes next: canvas size, resolution, color mode, folder structure, performance needs, export format, and whether your current device is enough for the job.
A 1080x1080 Instagram post and a 24x36 inch poster at 300 DPI are both Photoshop files. Treating them the same is how you end up fixing setup decisions halfway through the project.
#2. Set up the file first
The first few settings in a Photoshop file are easy to treat like placeholders.
Canvas size? Close enough.
Resolution? We’ll fix it later.
Color mode? Default is probably fine.
Artboards? Maybe, maybe not.
That casual setup works for quick edits. It gets risky when the file needs to become something specific.
Start with the final output. If the project is digital, work in exact pixel dimensions. A YouTube thumbnail, website hero, social ad, app store image, product banner, and email graphic all have different size requirements. Guessing here usually means cropping, stretching, rebuilding, or exporting three times because something looks slightly off.
If the project is for print, think in physical dimensions. Inches, centimeters, bleed, margins, and resolution matter. A poster is not just a bigger Instagram post. Print files need enough image data to hold up at the final size, and they often need different color handling depending on the printer or production workflow.
Color mode is another decision worth making early.
For most screen-based work, RGB makes sense. It gives you a broader color range and matches the way the final image will be viewed. For print, CMYK may be required, but I wouldn’t blindly convert everything at the start unless the printer, client, or production team asks for it. Some workflows stay in RGB longer and convert later using a specific profile.
The point is not that there’s one perfect answer. The point is that you should know why you’re choosing it.
Resolution is similar. People say “300 DPI” like it’s a magic spell. It isn’t. For print, 300 DPI is often a safe target, especially for pieces viewed up close. For digital work, pixel dimensions matter more than DPI. A 1920x1080 image is still 1920x1080 on screen whether the file says 72 DPI or 300 DPI.
Then decide whether you need artboards.
Artboards are useful when you’re creating multiple related outputs in one file: campaign graphics, ad sizes, social variations, web layouts, or design options. They’re less useful when the file is already going to be heavy or when each deliverable needs its own clean working file.
Before importing assets, check:
What is the final size?
Is this digital, print, or both?
Should the file be RGB or CMYK?
Do I need one canvas or multiple artboards?
Will this need to scale later?
What formats will I export?
This sounds basic. It is.
But basic setup mistakes are the ones that get expensive later, especially when the PSD already has masks, Smart Objects, text layers, AI-generated edits, and a deadline attached to it.
#3. Organize assets and layers
A Photoshop file rarely becomes messy inside Photoshop first.
It starts with the assets.
A logo from Slack. Product images in Downloads. A background from an email attachment. A font file on the desktop. A reference screenshot named Screenshot 2026-06-24 at 10.48.12.png. Then everything gets dragged into the canvas, and somehow the PSD is expected to stay organized.
It won’t.
Before you import anything, create a project folder. It doesn’t need to be complicated. It just needs to separate the important parts of the job.
A simple structure works:
project-name/
source/
psd/
exports/
references/
fonts/
ai-generated/
Use source for untouched original files. Use psd for working Photoshop files. Use exports for final or review-ready images. Use references for moodboards, screenshots, brand examples, or client notes. Use fonts if you’re not relying entirely on synced fonts. Use ai-generated for anything created with Generative Fill, Generative Expand, or other AI tools.
That last folder matters more now than it did a few years ago.
AI tools make it incredibly easy to create options. That’s useful, but it also means assets multiply fast. If every generated variation stays hidden somewhere inside the PSD, you’ll end up scrolling through layers instead of making decisions. Save the strongest outputs, name them clearly, and delete the obvious failures.
Inside Photoshop, build the file with the same logic.
For a client-facing PSD, I’d usually start with groups like:
Background
Subject
Retouching
Text
Color
Effects
AI Variations
Exports
Archive
You can adjust the names based on the project, but the point is to group by purpose. Not by accident. A layer stack full of Layer 12 copy 3 is fine for ten minutes, then it becomes a tax on every future edit.
File naming is part of this too.
Use names that tell you what the file is and where it sits in the process:
campaign-hero_v01.psd
campaign-hero_v02.psd
campaign-hero_client-review.psd
campaign-hero_final.psd
Avoid the classic disaster:
final.psd
final2.psd
final_new.psd
final_REAL.psd
final_REAL_use_this.psd
No judgment. We’ve all made at least one haunted file.
One more thing: if you’re using Linked Smart Objects, keep the linked files inside the project folder. Otherwise, the PSD may open fine on your machine and break the moment someone else opens it. Missing linked assets are not a creative problem. They’re a setup problem.
Good organization won’t make the design better by itself. But it gives you more room to make the design better because you’re not wasting energy hunting for the right image, font, layer, or version.
#4. Check device performance
Photoshop can feel lightweight until the file gets serious.
A few layers? Fine. A small web graphic? Usually fine. Then you add high-resolution source images, Smart Objects, masks, adjustment layers, text, Generative Fill variations, maybe another Adobe app running in the background, and suddenly every small action has a pause attached to it.
That pause matters. It breaks flow.
Before you start a heavier Photoshop project, check whether your device is actually ready for it. Not in a dramatic “you need the most expensive workstation” way. More like: is this machine a good place to build this specific file?
Start with RAM. Adobe lists 8 GB as the minimum for Photoshop, but recommends 16 GB or more. That gap says a lot. Minimum means Photoshop can run. It does not mean a large layered PSD will feel smooth, especially if you’re also running a browser, Lightroom, Illustrator, Slack, or a video call.
If you’re planning a hardware upgrade specifically for Photoshop, this guide to the best GPU for Photoshop can help you compare what kind of graphics card makes sense for your workflow.
Storage is next. Photoshop needs free disk space, not just for saving the PSD, but for temporary working files. If your drive is almost full, performance can get ugly fast. A fast SSD helps, and Adobe recommends using a fast drive for better performance, especially when scratch disks come into play.
Scratch disks are one of those Photoshop topics people ignore until the warning appears.
Photoshop uses scratch disk space when it needs more working memory. If the scratch disk is slow, full, or sitting on the same overloaded system drive as everything else, you’ll feel it. Big image files, multiple history states, Smart Objects, and AI-assisted edits can all push Photoshop harder.
GPU matters too, though not every Photoshop user needs to obsess over it. For basic edits, you may be fine. For large documents, smooth zooming and panning, modern display features, high-resolution monitors, and some newer workflows, the GPU can become more noticeable.
Ask a few practical questions before committing the project to your current setup:
How much RAM do I have available?
Is my drive close to full?
Is Photoshop using a fast scratch disk?
Am I working from a slow external drive?
Will this PSD get large because of Smart Objects or high-resolution assets?
Will I use Generative Fill or create many AI variations?
Do I need other Adobe apps open at the same time?
That last one is easy to underestimate. Photoshop rarely works alone. A real creative workflow might include Illustrator for logos, Lightroom for photos, Bridge for browsing, After Effects for motion assets, a browser full of references, and a chat app where feedback keeps arriving.
Your computer doesn’t care that each app is “part of the process.” It just sees the load.
If the project is small, don’t overcomplicate it. A lightweight laptop can be perfectly fine for simple edits and smaller graphics. But if you already know the PSD will be heavy, it’s better to think about performance before the file starts fighting back.
If you’re trying to understand how GPU performance actually affects Photoshop, Vagon’s guide on how to use GPU on Adobe Photoshop breaks down where the GPU matters and where it doesn’t.
#5. Consider Vagon Cloud Computer
Not every Photoshop project needs Vagon Cloud Computer.
A quick crop, a simple background cleanup, a small web graphic, a meme for the team chat. Those are not the moments where you need to rethink your workstation. If your local machine handles the file comfortably, keep working. Simple is good.
But Photoshop projects do not always stay simple.
A file that starts as a few product images can become a layered campaign visual with Smart Objects, masks, text, adjustment layers, AI variations, and multiple export formats. A quick concept can turn into a client presentation. A laptop that felt fine in the morning can start struggling by the third round of changes.
That is where Vagon Cloud Computer becomes worth considering.
Vagon Cloud Computer gives you access to a high-performance computer in the cloud, so you can run demanding creative software from a device that may not be powerful enough on its own. Instead of depending only on the RAM, GPU, storage, and thermal limits of your local machine, you work from a cloud computer built for heavier creative workloads.
For Photoshop users, that can matter in a few specific situations.
If you’re working from a lightweight laptop, your device may be great for writing, browsing, reviewing, and quick edits, but not ideal for a heavy PSD with large assets. Vagon Cloud Computer can give you a more capable workspace without forcing you to buy a new workstation for occasional demanding projects.
If your file includes high-resolution images, many Smart Objects, or a lot of AI-generated variations, performance can become uneven. The issue is not that Photoshop is broken. It’s that the project has outgrown the machine you’re using.
If you move between devices, a cloud computer can also make the workflow more consistent. You are not rebuilding the same Photoshop setup on every machine or wondering which laptop has the right files, fonts, plugins, and performance headroom. You connect to the same environment and keep working.
If your workflow often moves between desktop and tablet, you may also want to read Vagon’s guide on how to use Photoshop on iPad.
Remote work is another case. Maybe you’re traveling. Maybe you’re using a MacBook Air but need more power for a specific project. Maybe your office workstation is not available. Maybe you want a controlled setup for a short-term client job. Vagon Cloud Computer can help turn a weaker local device into an access point for a stronger working environment.
The key is knowing when it actually makes sense.
Use Vagon Cloud Computer when the bottleneck is hardware, access, or consistency:
Your local machine slows down with large PSDs
You need to work with high-resolution assets
You rely on Smart Objects, masks, and many layers
You’re using AI features and generating multiple variations
You want a consistent Photoshop environment across devices
You don’t want to buy a new workstation for occasional heavy work
You need to work remotely without compromising performance
Don’t use it as a bandage for bad file hygiene. If the PSD is a mess, a stronger machine might make the mess move faster, but it won’t make the file easier to understand. You still need clean folders, named layers, sensible AI variation management, and a clear export plan.
That’s why Vagon Cloud Computer fits best as part of the setup decision, not as a last-minute rescue.
Before you start, ask yourself: is this project likely to outgrow my local machine?
If the answer is no, keep it local. If the answer is yes, setting up the project on Vagon Cloud Computer from the beginning may save you from lag, storage issues, device switching problems, and the slow realization that your hardware has become part of the creative process.
And honestly, Photoshop work already has enough moving parts. Your computer should not be the thing making the project harder.
If you’re working from a Chromebook, Vagon also has a dedicated guide on how to run Adobe Photoshop on Chromebook without relying on local hardware.
#6. Keep the file editable
The fastest Photoshop move is not always the smartest one.
Flatten the layer. Erase the edge. Merge the group. Paint over the problem. Export and hope nobody asks for changes.
Sometimes that’s fine. If you’re making a quick one-off image and you know you’ll never revisit it, speed matters more than elegance. But most real Photoshop projects do come back. A client wants a different crop. The product color changes. The headline gets rewritten. The AI-generated background almost works, but one corner looks strange.
That’s when destructive editing starts charging interest.
Build the file so you can still change your mind.
Smart Objects are the obvious starting point. If you’re placing a logo, product image, UI screenshot, illustration, or generated asset that might need to be resized or swapped later, make it a Smart Object. You can transform it, scale it, apply filters, and still preserve the original source better than if you keep rasterizing everything too early.
Adjustment Layers are another habit worth using from the beginning. Instead of applying color, contrast, brightness, curves, hue, saturation, or black-and-white changes directly to an image, keep them editable. It takes a few extra seconds. It saves you when someone says, “Can we make it warmer, but less yellow?” which is somehow a normal sentence in creative work.
Layer Masks are usually better than erasing. Erasing feels clean until you need part of the image back. A mask lets you hide and reveal without damaging the original pixels. For retouching, compositing, product imagery, and AI-assisted edits, that flexibility matters.
Generative Fill deserves its own discipline.
It is easy to treat AI-generated layers like disposable experiments, but they become part of the file quickly. If you use Generative Fill to extend a background, remove an object, or create visual options, keep the useful variations organized. Don’t leave them scattered across the Layers panel.
A simple structure helps:
AI Variations
background-extend_v01
background-extend_v02
object-removal_clean
product-shadow_option-a
client-option_b
You do not need to keep every generated result. In fact, you probably shouldn’t. Save the strong options, delete the obvious failures, and export reference images if you want to keep a visual record outside the PSD.
This is where performance and organization meet. A PSD full of unused AI variations, duplicated Smart Objects, and unnamed masks can get heavy fast. Even on a strong machine, a messy file slows decision-making. On a weaker machine, it can slow everything.
If you are working on Vagon Cloud Computer, you may have more performance headroom, which is useful for larger layered files. But the same rule still applies: more power does not replace good structure. It just gives your structure more room to breathe.
The goal is not to make a perfect Photoshop file. Perfect files are usually a myth.
The goal is to make a file that still makes sense tomorrow.
If Photoshop is already crashing before you even get to the creative part, this breakdown of common Photoshop crash reasons is a useful place to troubleshoot first.
#7. Plan review and handoff
A Photoshop project is not really finished when it looks finished.
It still has to leave Photoshop.
Someone might need to review it, approve it, resize it, export it, translate it into another format, or open the PSD six weeks later when nobody remembers why there are three different shadow groups. The handoff is part of the work, even if it happens after the fun part.
Start with review.
What does the reviewer actually need to see? A client usually does not need the full PSD. They need a clear image, a few options, maybe a side-by-side comparison, and a way to give feedback without breaking anything. Sending the working file too early can create confusion, especially if the file is large, layered, or full of unfinished experiments.
For internal teams, the review process might be different. A designer may need the PSD. A marketer may only need a JPG. A developer may need compressed web assets. A print vendor may need a PDF, TIFF, or specific color profile. One file can serve multiple people, but not through the same export.
Decide the export formats before the end.
Common Photoshop outputs include:
PSD for editable handoff
JPG for lightweight previews
PNG for transparency
TIFF for high-quality image workflows
PDF for print or review
WebP for web performance
Layered files for design teams
The right format depends on where the image goes next. A blog header and a billboard do not need the same export. A client preview and a production handoff should not be treated the same either.
Versioning matters here too.
If you send three options, name them clearly:
campaign-hero_option-a.jpg
campaign-hero_option-b.jpg
campaign-hero_option-c.jpg
If you revise after feedback:
campaign-hero_v03_client-review.jpg
campaign-hero_v04_final.jpg
Not exciting. Very useful.
For PSD handoff, include the supporting pieces. Linked assets, fonts or font notes, source files, AI-generated references, and export specs should travel with the project. If someone opens your PSD and immediately sees missing links, missing fonts, or mystery layers, the handoff has already failed.
A short handoff note can save a lot of guessing:
Main file: campaign-hero_v04.psd
Exports: /exports/final/
Source files: /source/
AI references: /ai-generated/
Fonts: Adobe Fonts, synced
Main editable groups: Subject, Text, Color, AI Variations
Do not edit: Archive
Final formats needed: JPG, PNG, WebP
This is also where Vagon Cloud Computer can help if the work needs to move between devices or people.
If the project lives on a powerful cloud machine, you can keep the Photoshop environment more consistent instead of passing a heavy workflow between underpowered local devices. That can be useful for remote teams, freelancers switching machines, or anyone who needs to continue working from a different setup without rebuilding everything from scratch.
Still, the same rule applies: do not make people hunt.
Whether you work locally or on Vagon Cloud Computer, the file should explain itself. Clear folders, named exports, linked assets in the right place, and a PSD that another person can open without needing a detective board.
The best handoff is boring.
Everything is where it should be. Nothing is missing. Nobody has to ask which file is final.
Before you start: the quick Photoshop checklist
You do not need to run a giant production checklist before every Photoshop file.
If you’re cropping one image, fixing a tiny blemish, or making a quick internal graphic, don’t turn setup into theater. Open Photoshop, do the work, export the file.
But when the project is bigger, slower, client-facing, AI-assisted, or likely to be reopened later, a short checklist can save you from a very annoying afternoon.
Area | What to check before you start |
|---|---|
Project type | Know whether this is a quick edit, a layered working file, a print piece, a digital asset, or something someone else will edit later. |
File setup | Confirm the canvas size, resolution, color mode, artboards, and expected export formats before you build too much. |
Assets and folders | Create a project folder, separate source files from exports, collect fonts, logos, references, and keep linked files easy to find. |
Performance | Check RAM, free disk space, scratch disk setup, storage speed, and whether the file is likely to become heavy. |
Vagon Cloud Computer | If the project will use large assets, many layers, AI variations, or a lightweight laptop, consider starting on Vagon Cloud Computer early. |
Editable workflow | Use Smart Objects, Adjustment Layers, masks, clear layer groups, and an AI variations group where they make sense. |
Review and handoff | Decide how the work will be reviewed, where exports will live, and whether someone else can understand the PSD later. |
The checklist is not there to slow you down. It is there to catch the boring problems early, before they become creative problems.
A Photoshop file can survive a lot of improvisation. That’s part of the charm. But the larger the project gets, the more your setup matters.
Start clean. Then make the mess on purpose.
FAQs
1. Do I need a powerful computer for Adobe Photoshop?
Not for every Photoshop project. Simple edits and small graphics can run fine on many modern laptops. But large PSDs, high-resolution assets, Smart Objects, AI-generated variations, and multiple Adobe apps open at once can push your machine harder.
2. What should I set up before starting a Photoshop project?
At minimum, decide your canvas size, resolution, color mode, folder structure, asset location, export formats, and whether your device can handle the project comfortably.
3. When should I use Vagon Cloud Computer for Photoshop?
Use Vagon Cloud Computer when your local machine becomes the bottleneck: large files, limited RAM, weak GPU, low storage, remote work, device switching, or AI-heavy Photoshop workflows.
4. Should I use RGB or CMYK in Photoshop?
Use RGB for most digital work. For print, CMYK may be required, but it depends on the printer and production workflow. If a printer gives you a specific profile or requirement, follow that.
5. How do I keep Photoshop files organized?
Create a project folder, keep source files separate, name PSD versions clearly, group layers by purpose, and keep AI-generated variations in their own group or folder.
Get Beyond Your Computer Performance
Run applications on your cloud computer with the latest generation hardware. No more crashes or lags.

Trial includes 1 hour usage + 7 days of storage.
Summarize with AI

Ready to focus on your creativity?
Vagon gives you the ability to create & render projects, collaborate, and stream applications with the power of the best hardware.

Vagon Blog


Run heavy applications on any device with
your personal computer on the cloud.
San Francisco, California
Solutions
Vagon Teams
Vagon Streams
Use Cases
Resources
Vagon Blog
The First 30 Minutes in Blender 3D: A Practical Workflow Guide
What’s New in Godot 4.7? Key Features, Upgrades, and Workflow Improvements
What Slows Down Blender 3D Projects?
What Slows Down Adobe Photoshop Projects?
The First 30 Minutes in Adobe Photoshop: A Practical Workflow Guide
Before You Start in Adobe Photoshop: A Practical Setup Checklist
What’s New in Unreal Engine 5.8? Key Features and Upgrade Advice
How to Run Windows on an iPad: 4 Best Ways (2026)
How to Run Windows on Mac: Every Method Tested (2026)
Vagon Blog
Run heavy applications on any device with
your personal computer on the cloud.
San Francisco, California
Solutions
Vagon Teams
Vagon Streams
Use Cases
Resources
Vagon Blog