Instant Connection for Pixel Streaming
— New Feature Automated Setup

The First 30 Minutes in Adobe Photoshop: A Practical Workflow Guide
The First 30 Minutes in Adobe Photoshop: A Practical Workflow Guide
DigitalArt
The First 30 Minutes in Adobe Photoshop: A Practical Workflow Guide
Table of Contents
The first 30 minutes in Photoshop usually decide what the next three hours will feel like.
Clean and focused, if you make a few smart decisions early.
Slow, messy, and mildly cursed, if you start dragging assets around before you know what the file is supposed to become.
I’m not saying every Photoshop project needs a ceremony. Sometimes you just open an image, remove a background, export a PNG, and get on with your day. Beautiful. But if you’re working on a real PSD with client feedback, high-resolution images, AI-generated edits, multiple exports, or another person opening the file later, the first half hour matters more than people admit.
This is not a tour of every Photoshop tool. I’m not going to explain the toolbar, the Move Tool, or what a layer is. There are plenty of beginner tutorials for that.
This is a working routine. The kind you run through when you want the file to stay readable, the machine to keep up, and the project to survive revisions without turning into final_v6_actual_final.psd.
We’ll walk through what to do in the first 30 minutes: confirm the project goal, set up the workspace, bring in assets cleanly, build the first layer structure, check performance, use AI features without making a mess, export an early preview, and decide whether Vagon Cloud Computer should be part of the workflow before your local machine starts complaining.
Because Photoshop gives you a lot of freedom.
The trick is using a little structure before that freedom becomes chaos.
#1. Confirm the project goal
Minute 0 to 3.
Before you touch the Brush Tool, import a logo, or start hunting through your Downloads folder, answer one question:
What does this file need to become?
That sounds obvious. It is also the thing people skip.
A Photoshop file can become a quick crop, a product retouch, a social media post, a website hero, a print poster, a YouTube thumbnail, an AI-assisted concept, or a full campaign visual with multiple versions. All of those live inside Photoshop. They should not start the same way.
If the final output is a 1080x1080 social post, you’re thinking in pixels, compression, safe areas, and probably a fast export. If it’s a print poster, you care about physical dimensions, resolution, bleed, and color expectations. If it’s a client campaign file, you need to think about layers, naming, review, handoff, and whether someone else can open the PSD without needing a translator.
So in the first few minutes, define the job.
Ask:
Is this digital, print, or both?
What is the final size?
Is there one output or several?
Will someone review this?
Will someone else need to edit the PSD?
Will I use AI-generated edits or heavy compositing?
Does this file need to stay editable for later?
This does not need to become a project brief. Don’t overdo it. Just make the basic decisions before Photoshop starts making them for you.

Here’s a small example. If you start a poster design as a random web-size canvas because “I’ll resize it later,” you’re probably setting yourself up for awkward scaling, soft images, and export cleanup. Same with starting a multi-format ad campaign as one flat canvas. It might feel faster for the first ten minutes. It won’t feel faster when you need five sizes and everything is built like a sandwich.
I’ve noticed the best Photoshop users aren’t always the ones who know the most obscure features. They’re often the ones who know what kind of file they’re building before they start building it.
That one habit saves a lot of cleanup.
#2. Set up the workspace
Minute 3 to 6.
Photoshop workspaces are easy to ignore until you’re already annoyed.
You’re trying to adjust a mask, but the Properties panel is hidden. You need Layers, but it’s squeezed into a tiny corner. You’re using Generative Fill, but the Contextual Task Bar keeps appearing where you don’t want it. You open History, close Libraries, move Adjustments, and suddenly you’re organizing the interface instead of working.
Do that early. Quickly.
You do not need a perfect workspace. In fact, I think “perfect workspace” tweaking can become its own form of procrastination. But you should have the panels you’ll actually use within reach before the file gets crowded.
For most Photoshop projects, I’d want these visible or easy to access:
Layers
Properties
Adjustments
Libraries
History
Color or Swatches
Character and Paragraph, if the project uses text
Contextual Task Bar, if you use AI features or quick actions
If you’re retouching, you might prioritize History, Properties, and the Clone Source panel. If you’re building social graphics, Layers, Character, Paragraph, Libraries, and Adjustments might matter more. If you’re compositing, you’ll probably live inside Layers, Masks, Properties, and Adjustments all day.
The point is not to use the same layout for every project. The point is to stop fighting the interface.
If you have a workspace you like, save it. If you don’t, start from one of Photoshop’s built-in workspaces and make a few practical changes. Adobe lets you customize panels, menus, and workspaces for a reason. Use that flexibility, but don’t spend 20 minutes making the interface look impressive.
A good rule: if you won’t use a panel in the next hour, it probably doesn’t need prime real estate.

This is also a good moment to check small preferences that affect the way you work. Are rulers useful for this file? Do you need guides? Are Smart Guides on? Do you want the grid visible? Are you using the right units for the job?
Pixels for digital work. Inches or centimeters for print. Simple stuff, but it keeps your brain from doing tiny conversions all day.
Three minutes of workspace setup can save you from dozens of tiny interruptions later. And honestly, those interruptions add up faster than people think.
#3. Import assets carefully
Minute 6 to 10.
This is where a lot of Photoshop files start to fall apart.
Not because the design is bad. Because the inputs are everywhere.
A logo from Slack. Product photos in Downloads. A background image from an email attachment. A font file sitting on the desktop. A reference screenshot with a name so long it looks like a shipping label. Then everything gets dragged into Photoshop, and the file is expected to stay neat.
It won’t.
Before you import assets, give the project a small folder system. Nothing elaborate. Just enough structure so you can find what you need later.
Something like this works:
project-name/
source/
psd/
exports/
references/
fonts/
ai-generated/
Use source for untouched originals. Use psd for working files. Use exports for previews and finals. Use references for screenshots, moodboards, examples, or client notes. Use fonts if you need local font files. Use ai-generated for anything created with Generative Fill, Generative Expand, or other AI tools.
Then import only what you need for the first pass.

That last part is important. Don’t drag in 47 possible backgrounds because one of them might work. Keep the project open enough for exploration, but not so open that the file becomes a storage unit.
For assets that may change later, consider placing them as Smart Objects. Product images, logos, UI screenshots, illustrations, generated elements, and brand graphics often benefit from staying editable or replaceable. If you’re using linked Smart Objects, keep the linked files inside the project folder. Otherwise, the file may work perfectly on your machine and break the second someone else opens it.
Not fun. Very avoidable.
I’d also keep original assets untouched. If a client sends five product images, don’t overwrite them. If you retouch one, save the edited version separately. This gives you a way back when someone asks for a different crop, a lighter shadow, or the original color.
And they will.
The first ten minutes of asset handling should answer three questions:
Where do the original files live?
Which assets actually need to enter the PSD?
Which assets need to stay editable or replaceable?
If you can answer those, the file is already in better shape than most.
#4. Build the first layer structure
Minute 10 to 15.
Layer organization is easiest when there aren’t many layers yet.
Obvious, I know. Also ignored constantly.
People usually wait until the PSD is already messy before they try to clean it. By then, the file has 80 layers, five hidden experiments, three adjustment layers doing mysterious things, and at least one group named Group 7. Now cleanup feels like punishment.
Do it earlier.
Around the 10-minute mark, once the canvas and core assets are in place, create the first layer groups. They don’t need to be perfect. They just need to give the file a spine.
For a typical Photoshop project, I’d start with something like:
Background
Subject
Retouching
Text
Color
Effects
AI Variations
Archive
If you’re building a social graphic, maybe you need Text, Product, Background, Brand, and Exports. If you’re retouching a portrait, maybe Base, Cleanup, Dodge & Burn, Color, and Reference make more sense. If you’re making a composite, you may need groups for each major object or scene element.
The names matter less than the logic.
Group by purpose. Not by accident.
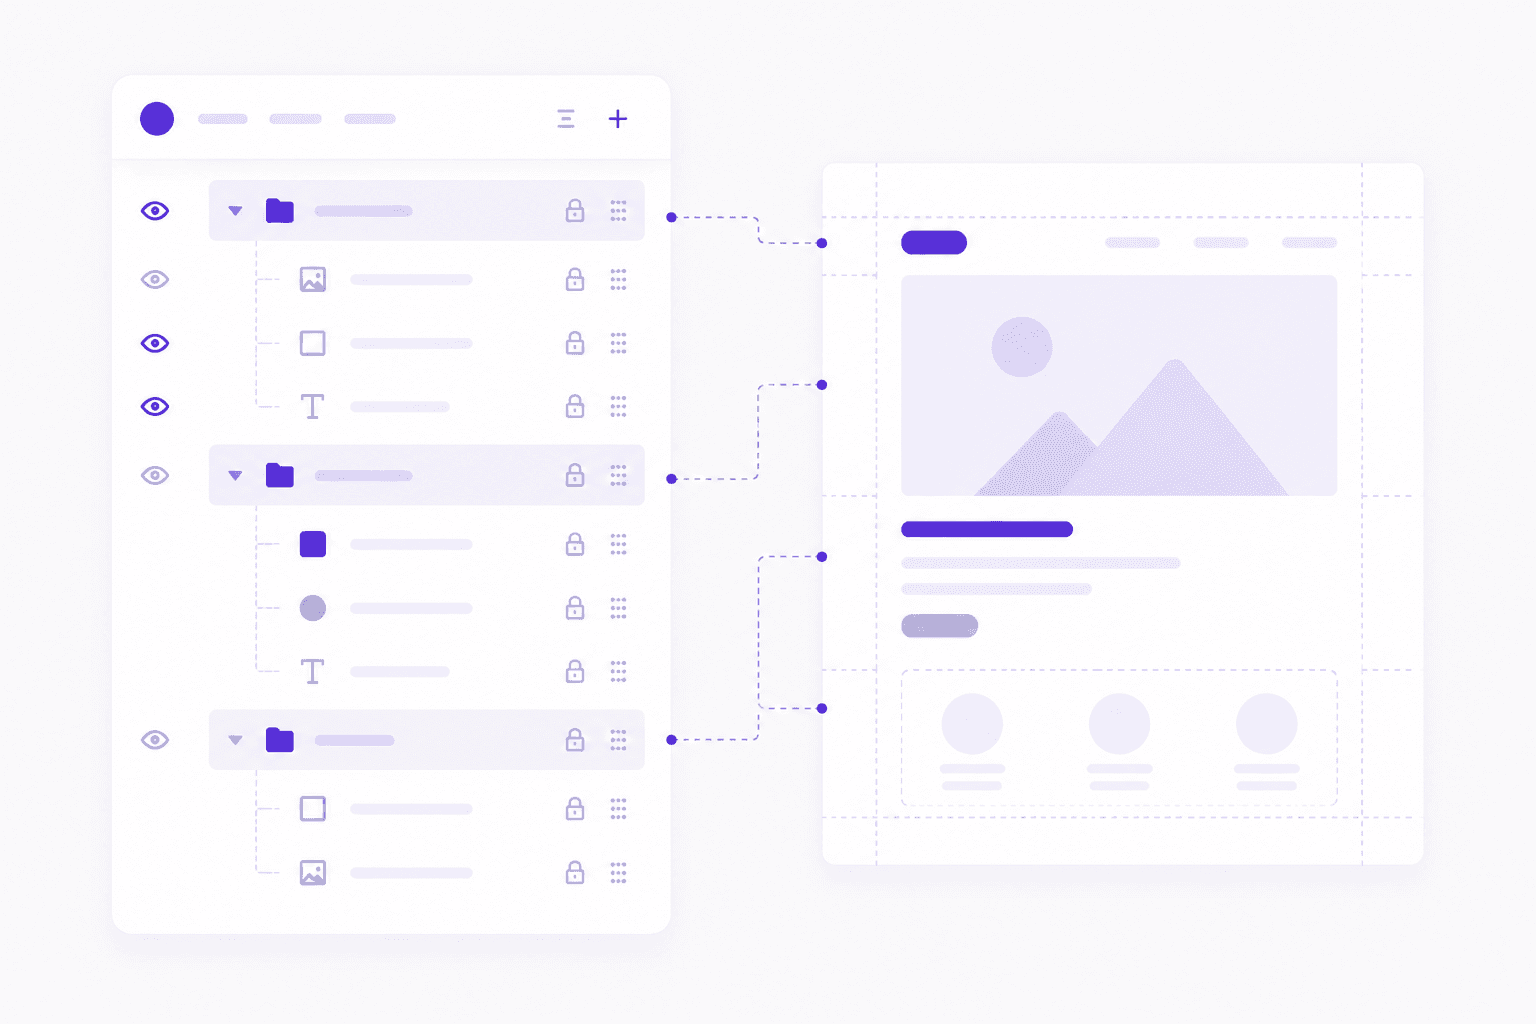
I’d also name important layers as soon as they become important. You don’t need to rename every tiny adjustment while experimenting, but if a layer controls the product shadow, call it product shadow. If a layer is the main background extension, call it background extension. If a mask is doing something delicate, don’t leave it buried under Layer 14 copy.
This is especially useful when AI enters the file.
Generative Fill can create variations quickly, and that speed is part of the appeal. But if those variations land wherever they want in the Layers panel, the file gets confusing fast. Create an AI Variations group early and move useful generations there. Delete the obvious failures. Keep the maybes if you want, but don’t let them take over the working structure.
Layer cleanup is much cheaper at layer 8 than layer 80.
And if someone else needs to open the PSD later, this early structure is not just nice. It’s a small act of mercy.
#5. Check performance early
Minute 15 to 18.
The worst time to think about Photoshop performance is after the file is already painful to use.
By then, you’ve got a heavy PSD, a deadline, maybe a client waiting, and every brush stroke feels like it has to ask permission first. Not ideal.
So check performance while the file is still young.
Start with the basics: RAM, storage, scratch disk, GPU, and whatever else is running in the background. Adobe lists 8 GB of RAM as the minimum for Photoshop, but recommends 16 GB or more. That gap matters. Minimum means the app can run. It does not mean a large layered file with Smart Objects and AI variations will feel good.
Scratch disks deserve attention too. Photoshop uses scratch disk space as temporary working storage, especially when memory gets tight. If your scratch disk is full, slow, or on an already crowded system drive, performance can get ugly. Fast SSD storage helps. Free disk space helps. Planning helps most.
GPU is a little more nuanced. Not every Photoshop task depends heavily on the GPU, but modern workflows can still benefit from a capable graphics setup, especially when you’re working with large documents, high-resolution displays, smooth zooming and panning, and newer features. If you’re unsure where it matters, Vagon’s guide on how to use GPU on Adobe Photoshop explains which Photoshop tasks benefit most from GPU acceleration.

If you’re considering an upgrade, you may also want to compare options in this guide to the best GPU for Photoshop. Just don’t assume a new GPU fixes every Photoshop problem. Sometimes the bottleneck is RAM. Sometimes it’s storage. Sometimes it’s a PSD full of chaos wearing a nice filename.
Watch for early warning signs:
Slow zooming or panning
Delayed brush strokes
Lag when moving large Smart Objects
Slow saves
Long waits after Generative Fill
Scratch disk warnings
Random crashes or freezes
If Photoshop is already unstable early in the project, stop and diagnose before you keep building. This breakdown of common crash reasons for Photoshop is a useful place to start.
Also look outside Photoshop. Are you running Lightroom, Illustrator, After Effects, a browser with 30 tabs, Slack, and a video call at the same time? Your computer doesn’t care that all of this feels like “normal creative work.” It only sees load.
If everything feels smooth, great. Keep going.
If the file already feels heavy at minute 18, believe it. Photoshop rarely gets lighter as the project grows.
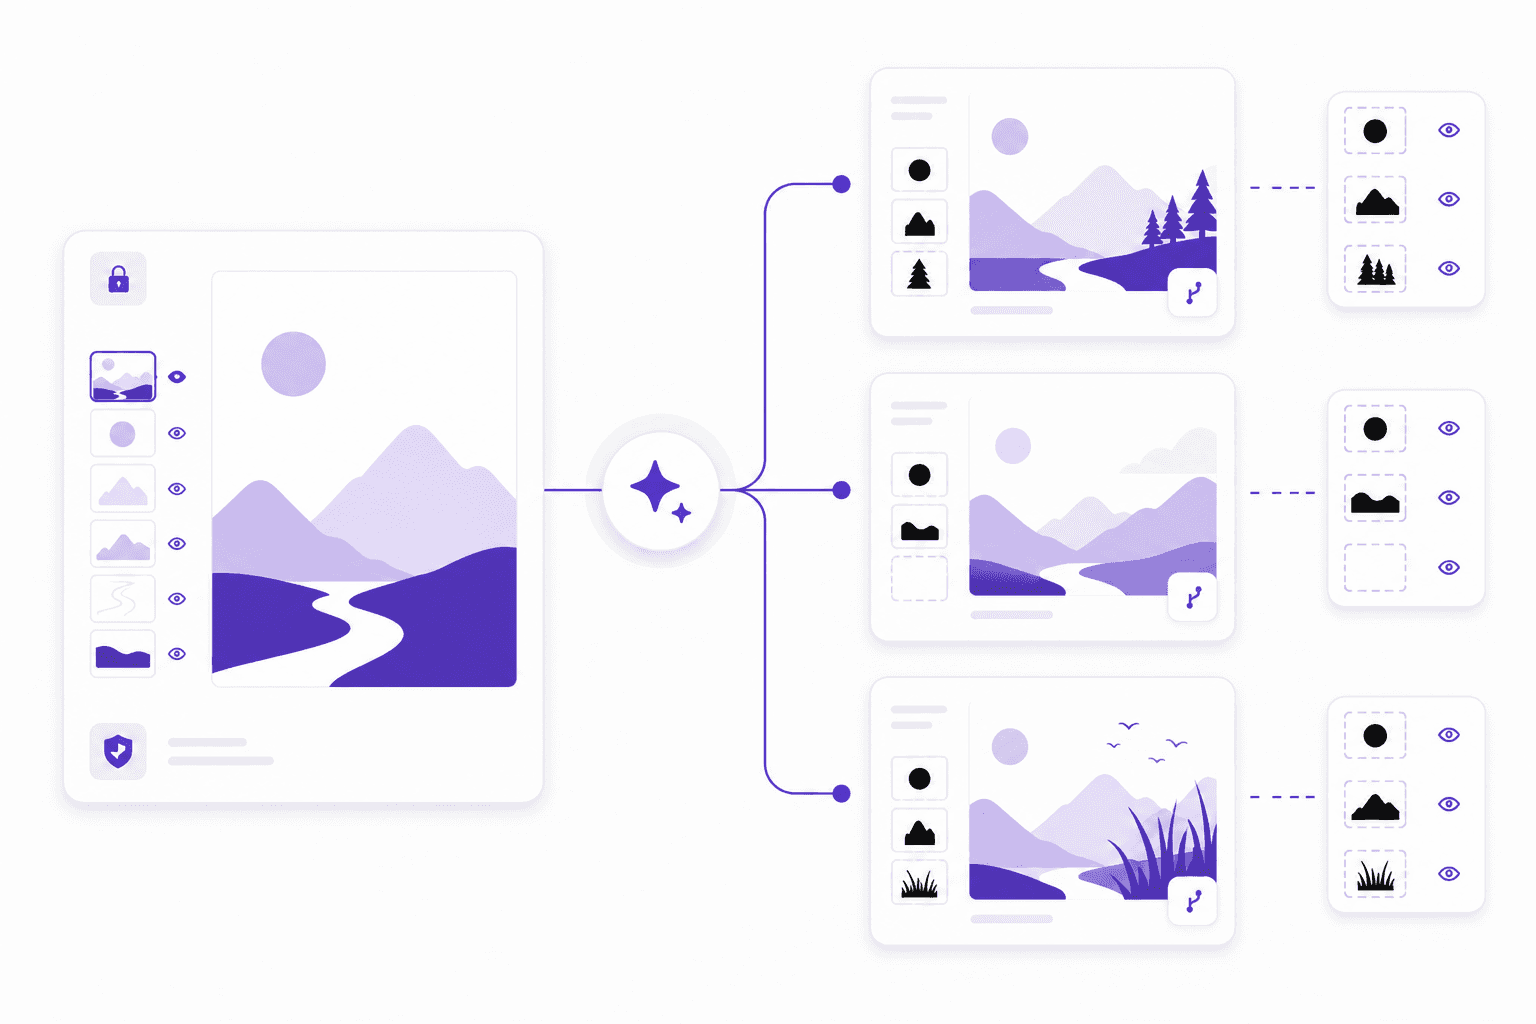
#6. Use AI without creating clutter
Minute 18 to 23.
Generative Fill is one of those Photoshop features that feels harmless because it’s so fast.
Extend a background. Remove an object. Add a missing corner. Try a different texture. Generate a few options. Suddenly the idea is better, or at least more interesting, and you’ve only spent a couple of minutes.
Great.
The problem is what happens after the fifth, tenth, or twentieth variation.
AI makes experimentation cheap, but it does not make organization optional. In fact, it makes organization more important. Generative Fill and Generative Expand can help you move quickly, but they also create extra layers, alternate outputs, and visual maybes that pile up inside the PSD.
So give AI its own place in the file.
Create a group called:
AI Variations
Then name the useful layers clearly:
background-extend_v01
background-extend_v02
object-removal_clean
shadow-option_a
client-direction_b
You don’t need poetic names. You need names that make sense tomorrow.
Delete weak generations early. I know, sometimes it feels wrong to delete an AI result because maybe there’s one tiny part you might use later. But keeping every version in the working file has a cost. It makes the Layers panel harder to read, increases file size, and makes it easier to edit the wrong thing.
If you want to keep extra references, export them into your ai-generated folder instead of carrying all of them inside the PSD.
I also like separating AI exploration from approved design work. For example:
AI Variations
Approved AI Edits
Archive
That way you can tell the difference between “interesting experiment” and “this is actually part of the file now.”
One more habit: don’t let AI-generated edits replace your source assets. Keep the original image. Keep the mask. Keep the adjustment layers. Treat the generated result as a layer in the workflow, not as the new source of truth.
This matters because AI outputs can look convincing at first glance and weird under review. A hand, a reflection, a shadow, an edge, a repeated texture. The kind of thing you notice right after sending the preview. Naturally.
Generative Fill is best when it gives you options without taking over the file.
Use it early, but keep it contained. That’s the difference between AI helping the workflow and AI turning the PSD into a junk drawer with better lighting.
#7. Save a clean version and export an early preview
Minute 23 to 27.
By this point, you should have the project goal, workspace, assets, layer structure, performance check, and first AI experiments under control.
Now save a clean version.
Not just Untitled-1.psd. Not a random file on the desktop. Save the first real working file with a name that tells you what it is:
project-name_v01.psd
If it’s already client-facing or tied to a campaign, be more specific:
campaign-hero_v01.psd
product-retouching_batch-01_v01.psd
landing-page-visual_v01.psd
Versioning early feels unnecessary until it saves you. A clean v01 gives you a stable point to return to if the file gets messy, the direction changes, or an experiment goes sideways.
Then export an early preview.
This does not need to be polished. It just needs to show the direction clearly enough for you, a teammate, or a client to catch obvious problems before you spend two more hours refining the wrong thing.
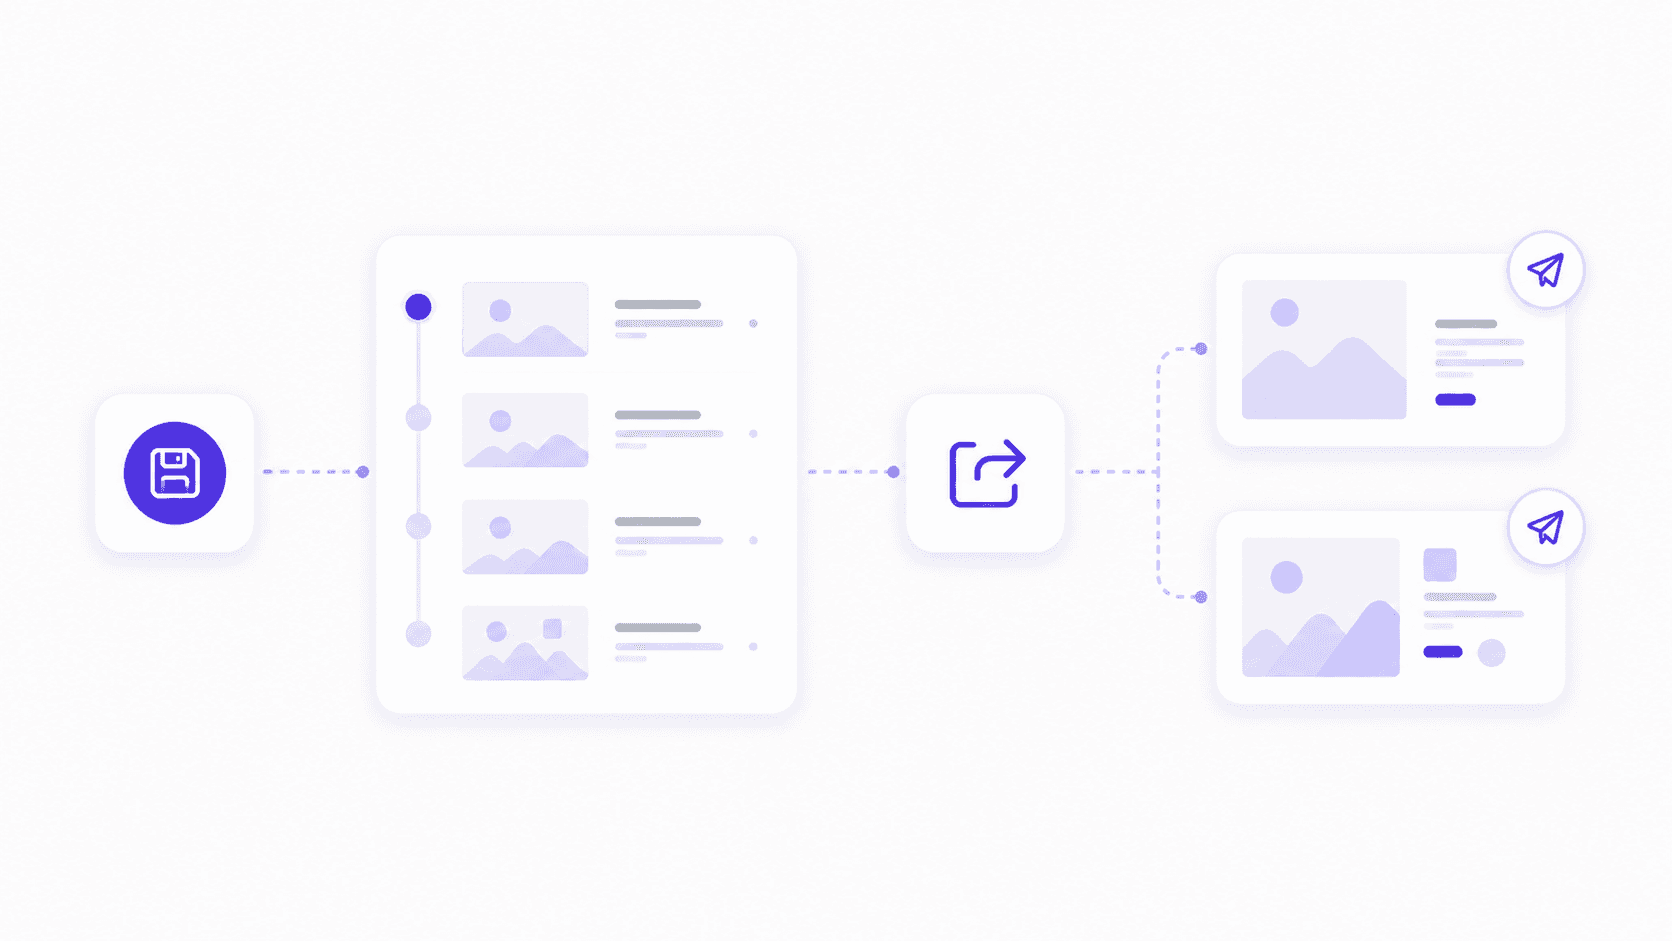
For most previews, a JPG is fine. For transparency checks, use PNG. For print review, maybe PDF. For layered handoff, PSD. The format depends on the job, but the reason is the same: get a reality check before the file becomes too invested in one direction.
A simple preview naming system works:
project-name_v01-preview.jpg
project-name_v01-option-a.jpg
project-name_v01-option-b.jpg
If the project has multiple sizes or artboards, export a quick set:
campaign_v01-instagram.jpg
campaign_v01-story.jpg
campaign_v01-web-hero.jpg
This is not busywork. It catches problems.
Maybe the composition looks good zoomed in but weak at actual size. Maybe the text is too small. Maybe the image crops badly in a social format. Maybe the AI-generated background looks fine inside Photoshop but strange once exported. Maybe the client hates the whole direction, which is painful, but less painful at minute 27 than hour 4.
I’ve learned to distrust anything that only looks good inside the working file.
Export it. Look at it like someone else would. Then keep going.
#8. Consider Vagon Cloud Computer
Minute 27 to 30.
This is the moment to be honest about the setup.
Not dramatic. Just honest.
Is your local machine handling the file comfortably? Are saves quick? Is panning smooth? Is Generative Fill responding without long delays? Do you have enough storage? Can you keep working if you need to switch devices later?
If the answer is yes, keep working locally. No need to complicate the project.
But if the file already feels heavy in the first 30 minutes, or you know it’s going to become a large layered PSD with high-resolution assets, AI variations, Smart Objects, and multiple exports, it may be smarter to move the workflow before the project gets harder to relocate.
That’s where Vagon Cloud Computer fits.
Vagon Cloud Computer lets you run Photoshop on a high-performance cloud machine and access that workspace from another device. For Photoshop users, that can be useful when the project is bigger than the laptop, tablet, or local desktop you happen to be using.
The best use cases are practical:
You’re working from a lightweight laptop
Your PSD is already getting large
You’re using high-resolution images
You’re creating many AI-generated variations
Your local GPU, RAM, or storage is limiting the workflow
You need the same Photoshop environment across devices
You want to avoid buying a new workstation for occasional heavy projects
You’re working remotely and need a more consistent setup
If you’re on a Chromebook, Vagon also has a dedicated guide on running Adobe Photoshop on Chromebook without relying on local hardware. And if your workflow often moves between desktop and tablet, this guide on how to use Photoshop on iPad may be useful too.

I wouldn’t frame Vagon Cloud Computer as something every Photoshop user needs. That would be silly. Plenty of Photoshop work runs fine on local machines.
The better question is: where is the friction?
If the friction is creative direction, Vagon won’t fix that. If the friction is messy layers, Vagon won’t fix that either. But if the friction is performance, device switching, storage limits, or access to a consistent workstation, starting on Vagon Cloud Computer can make the rest of the project feel much smoother.
The first 30 minutes are not only about the Photoshop file.
They’re about choosing the right environment before the file gets too heavy to move comfortably.
The first 30 minutes checklist
You don’t need to follow this like a stopwatch.
If you spend four minutes on assets instead of three, nobody is coming to take away your Photoshop license. The point is not timing perfection. The point is building the habit of checking the right things early.
Here’s a practical first 30-minute routine.
Time | Focus | What to check |
|---|---|---|
0 to 3 minutes | Confirm the output | Know whether the final is digital, print, or both. Confirm the canvas size, file purpose, and whether someone else will review or edit the PSD later. |
3 to 6 minutes | Set up the workspace | Open the panels you actually need, such as Layers, Properties, Adjustments, History, Libraries, or Character. Turn on guides, grids, rulers, or Smart Guides if they help the project. |
6 to 10 minutes | Bring in assets carefully | Create a project folder, separate source files from exports, import only the assets you need for the first pass, and use Smart Objects or linked files where they make sense. |
10 to 15 minutes | Build the first layer structure | Create clear layer groups, name important layers, leave space for AI-generated variations, and keep an Archive group for experiments you might want later. |
15 to 18 minutes | Check performance | Notice early lag, check free disk space, confirm the scratch disk is healthy, close unnecessary apps, and think about whether the file will become much heavier later. |
18 to 23 minutes | Use AI intentionally | Keep AI outputs organized in their own group, name useful generations, delete weak results, export extra references outside the PSD, and protect the original source image. |
23 to 27 minutes | Save and export a preview | Save the first clean PSD version, use a clear filename, export an early preview, and check whether the design still works outside Photoshop. |
27 to 30 minutes | Decide on Vagon Cloud Computer | If the file is already heavy, the project will grow, you need to switch devices, or you’re working remotely, consider moving the workflow to Vagon Cloud Computer before the file gets harder to manage. |
This checklist is not there to slow you down. It’s there to catch problems while they are still small.
That’s the real value of the first 30 minutes. You’re not trying to make the whole project perfect. You’re just making sure the file, the workspace, and the machine are ready for the work you’re about to ask from them.
FAQs
1. What should I do first when starting a Photoshop project?
Start by defining the final output. Decide whether the project is digital, print, or both, what size it needs to be, whether it will be reviewed by someone else, and whether it needs to stay editable. Those early decisions shape your canvas, color mode, asset structure, layer setup, and export plan.
2. How long should Photoshop project setup take?
For most projects, 10 to 30 minutes is enough. A quick edit may only need a minute or two. A client campaign, product retouching job, AI-assisted composition, or print project deserves more setup time because the cost of fixing mistakes later is much higher.
3. When should I use Generative Fill in a Photoshop workflow?
Use Generative Fill when you need to extend a background, remove an object, fill missing areas, or test visual directions quickly. Just keep the results organized. Create an AI Variations group, name useful generations, delete weak ones, and avoid letting every experiment stay inside the working PSD.
4. How do I keep Photoshop from slowing down during a project?
Start with a clean file structure, avoid keeping unnecessary AI variations, use Smart Objects intentionally, and check performance early. Also make sure you have enough RAM, free disk space, a healthy scratch disk, and only the apps you actually need open during heavy work.
5. When should I use Vagon Cloud Computer for Photoshop?
Use Vagon Cloud Computer when your local machine becomes the bottleneck. It is most useful for large PSDs, high-resolution assets, AI-heavy workflows, remote work, switching between devices, or working from a lightweight laptop that struggles with heavier Photoshop projects.
The first 30 minutes in Photoshop usually decide what the next three hours will feel like.
Clean and focused, if you make a few smart decisions early.
Slow, messy, and mildly cursed, if you start dragging assets around before you know what the file is supposed to become.
I’m not saying every Photoshop project needs a ceremony. Sometimes you just open an image, remove a background, export a PNG, and get on with your day. Beautiful. But if you’re working on a real PSD with client feedback, high-resolution images, AI-generated edits, multiple exports, or another person opening the file later, the first half hour matters more than people admit.
This is not a tour of every Photoshop tool. I’m not going to explain the toolbar, the Move Tool, or what a layer is. There are plenty of beginner tutorials for that.
This is a working routine. The kind you run through when you want the file to stay readable, the machine to keep up, and the project to survive revisions without turning into final_v6_actual_final.psd.
We’ll walk through what to do in the first 30 minutes: confirm the project goal, set up the workspace, bring in assets cleanly, build the first layer structure, check performance, use AI features without making a mess, export an early preview, and decide whether Vagon Cloud Computer should be part of the workflow before your local machine starts complaining.
Because Photoshop gives you a lot of freedom.
The trick is using a little structure before that freedom becomes chaos.
#1. Confirm the project goal
Minute 0 to 3.
Before you touch the Brush Tool, import a logo, or start hunting through your Downloads folder, answer one question:
What does this file need to become?
That sounds obvious. It is also the thing people skip.
A Photoshop file can become a quick crop, a product retouch, a social media post, a website hero, a print poster, a YouTube thumbnail, an AI-assisted concept, or a full campaign visual with multiple versions. All of those live inside Photoshop. They should not start the same way.
If the final output is a 1080x1080 social post, you’re thinking in pixels, compression, safe areas, and probably a fast export. If it’s a print poster, you care about physical dimensions, resolution, bleed, and color expectations. If it’s a client campaign file, you need to think about layers, naming, review, handoff, and whether someone else can open the PSD without needing a translator.
So in the first few minutes, define the job.
Ask:
Is this digital, print, or both?
What is the final size?
Is there one output or several?
Will someone review this?
Will someone else need to edit the PSD?
Will I use AI-generated edits or heavy compositing?
Does this file need to stay editable for later?
This does not need to become a project brief. Don’t overdo it. Just make the basic decisions before Photoshop starts making them for you.
Here’s a small example. If you start a poster design as a random web-size canvas because “I’ll resize it later,” you’re probably setting yourself up for awkward scaling, soft images, and export cleanup. Same with starting a multi-format ad campaign as one flat canvas. It might feel faster for the first ten minutes. It won’t feel faster when you need five sizes and everything is built like a sandwich.
I’ve noticed the best Photoshop users aren’t always the ones who know the most obscure features. They’re often the ones who know what kind of file they’re building before they start building it.
That one habit saves a lot of cleanup.
#2. Set up the workspace
Minute 3 to 6.
Photoshop workspaces are easy to ignore until you’re already annoyed.
You’re trying to adjust a mask, but the Properties panel is hidden. You need Layers, but it’s squeezed into a tiny corner. You’re using Generative Fill, but the Contextual Task Bar keeps appearing where you don’t want it. You open History, close Libraries, move Adjustments, and suddenly you’re organizing the interface instead of working.
Do that early. Quickly.
You do not need a perfect workspace. In fact, I think “perfect workspace” tweaking can become its own form of procrastination. But you should have the panels you’ll actually use within reach before the file gets crowded.
For most Photoshop projects, I’d want these visible or easy to access:
Layers
Properties
Adjustments
Libraries
History
Color or Swatches
Character and Paragraph, if the project uses text
Contextual Task Bar, if you use AI features or quick actions
If you’re retouching, you might prioritize History, Properties, and the Clone Source panel. If you’re building social graphics, Layers, Character, Paragraph, Libraries, and Adjustments might matter more. If you’re compositing, you’ll probably live inside Layers, Masks, Properties, and Adjustments all day.
The point is not to use the same layout for every project. The point is to stop fighting the interface.
If you have a workspace you like, save it. If you don’t, start from one of Photoshop’s built-in workspaces and make a few practical changes. Adobe lets you customize panels, menus, and workspaces for a reason. Use that flexibility, but don’t spend 20 minutes making the interface look impressive.
A good rule: if you won’t use a panel in the next hour, it probably doesn’t need prime real estate.
This is also a good moment to check small preferences that affect the way you work. Are rulers useful for this file? Do you need guides? Are Smart Guides on? Do you want the grid visible? Are you using the right units for the job?
Pixels for digital work. Inches or centimeters for print. Simple stuff, but it keeps your brain from doing tiny conversions all day.
Three minutes of workspace setup can save you from dozens of tiny interruptions later. And honestly, those interruptions add up faster than people think.
#3. Import assets carefully
Minute 6 to 10.
This is where a lot of Photoshop files start to fall apart.
Not because the design is bad. Because the inputs are everywhere.
A logo from Slack. Product photos in Downloads. A background image from an email attachment. A font file sitting on the desktop. A reference screenshot with a name so long it looks like a shipping label. Then everything gets dragged into Photoshop, and the file is expected to stay neat.
It won’t.
Before you import assets, give the project a small folder system. Nothing elaborate. Just enough structure so you can find what you need later.
Something like this works:
project-name/
source/
psd/
exports/
references/
fonts/
ai-generated/
Use source for untouched originals. Use psd for working files. Use exports for previews and finals. Use references for screenshots, moodboards, examples, or client notes. Use fonts if you need local font files. Use ai-generated for anything created with Generative Fill, Generative Expand, or other AI tools.
Then import only what you need for the first pass.
That last part is important. Don’t drag in 47 possible backgrounds because one of them might work. Keep the project open enough for exploration, but not so open that the file becomes a storage unit.
For assets that may change later, consider placing them as Smart Objects. Product images, logos, UI screenshots, illustrations, generated elements, and brand graphics often benefit from staying editable or replaceable. If you’re using linked Smart Objects, keep the linked files inside the project folder. Otherwise, the file may work perfectly on your machine and break the second someone else opens it.
Not fun. Very avoidable.
I’d also keep original assets untouched. If a client sends five product images, don’t overwrite them. If you retouch one, save the edited version separately. This gives you a way back when someone asks for a different crop, a lighter shadow, or the original color.
And they will.
The first ten minutes of asset handling should answer three questions:
Where do the original files live?
Which assets actually need to enter the PSD?
Which assets need to stay editable or replaceable?
If you can answer those, the file is already in better shape than most.
#4. Build the first layer structure
Minute 10 to 15.
Layer organization is easiest when there aren’t many layers yet.
Obvious, I know. Also ignored constantly.
People usually wait until the PSD is already messy before they try to clean it. By then, the file has 80 layers, five hidden experiments, three adjustment layers doing mysterious things, and at least one group named Group 7. Now cleanup feels like punishment.
Do it earlier.
Around the 10-minute mark, once the canvas and core assets are in place, create the first layer groups. They don’t need to be perfect. They just need to give the file a spine.
For a typical Photoshop project, I’d start with something like:
Background
Subject
Retouching
Text
Color
Effects
AI Variations
Archive
If you’re building a social graphic, maybe you need Text, Product, Background, Brand, and Exports. If you’re retouching a portrait, maybe Base, Cleanup, Dodge & Burn, Color, and Reference make more sense. If you’re making a composite, you may need groups for each major object or scene element.
The names matter less than the logic.
Group by purpose. Not by accident.
I’d also name important layers as soon as they become important. You don’t need to rename every tiny adjustment while experimenting, but if a layer controls the product shadow, call it product shadow. If a layer is the main background extension, call it background extension. If a mask is doing something delicate, don’t leave it buried under Layer 14 copy.
This is especially useful when AI enters the file.
Generative Fill can create variations quickly, and that speed is part of the appeal. But if those variations land wherever they want in the Layers panel, the file gets confusing fast. Create an AI Variations group early and move useful generations there. Delete the obvious failures. Keep the maybes if you want, but don’t let them take over the working structure.
Layer cleanup is much cheaper at layer 8 than layer 80.
And if someone else needs to open the PSD later, this early structure is not just nice. It’s a small act of mercy.
#5. Check performance early
Minute 15 to 18.
The worst time to think about Photoshop performance is after the file is already painful to use.
By then, you’ve got a heavy PSD, a deadline, maybe a client waiting, and every brush stroke feels like it has to ask permission first. Not ideal.
So check performance while the file is still young.
Start with the basics: RAM, storage, scratch disk, GPU, and whatever else is running in the background. Adobe lists 8 GB of RAM as the minimum for Photoshop, but recommends 16 GB or more. That gap matters. Minimum means the app can run. It does not mean a large layered file with Smart Objects and AI variations will feel good.
Scratch disks deserve attention too. Photoshop uses scratch disk space as temporary working storage, especially when memory gets tight. If your scratch disk is full, slow, or on an already crowded system drive, performance can get ugly. Fast SSD storage helps. Free disk space helps. Planning helps most.
GPU is a little more nuanced. Not every Photoshop task depends heavily on the GPU, but modern workflows can still benefit from a capable graphics setup, especially when you’re working with large documents, high-resolution displays, smooth zooming and panning, and newer features. If you’re unsure where it matters, Vagon’s guide on how to use GPU on Adobe Photoshop explains which Photoshop tasks benefit most from GPU acceleration.
If you’re considering an upgrade, you may also want to compare options in this guide to the best GPU for Photoshop. Just don’t assume a new GPU fixes every Photoshop problem. Sometimes the bottleneck is RAM. Sometimes it’s storage. Sometimes it’s a PSD full of chaos wearing a nice filename.
Watch for early warning signs:
Slow zooming or panning
Delayed brush strokes
Lag when moving large Smart Objects
Slow saves
Long waits after Generative Fill
Scratch disk warnings
Random crashes or freezes
If Photoshop is already unstable early in the project, stop and diagnose before you keep building. This breakdown of common crash reasons for Photoshop is a useful place to start.
Also look outside Photoshop. Are you running Lightroom, Illustrator, After Effects, a browser with 30 tabs, Slack, and a video call at the same time? Your computer doesn’t care that all of this feels like “normal creative work.” It only sees load.
If everything feels smooth, great. Keep going.
If the file already feels heavy at minute 18, believe it. Photoshop rarely gets lighter as the project grows.
#6. Use AI without creating clutter
Minute 18 to 23.
Generative Fill is one of those Photoshop features that feels harmless because it’s so fast.
Extend a background. Remove an object. Add a missing corner. Try a different texture. Generate a few options. Suddenly the idea is better, or at least more interesting, and you’ve only spent a couple of minutes.
Great.
The problem is what happens after the fifth, tenth, or twentieth variation.
AI makes experimentation cheap, but it does not make organization optional. In fact, it makes organization more important. Generative Fill and Generative Expand can help you move quickly, but they also create extra layers, alternate outputs, and visual maybes that pile up inside the PSD.
So give AI its own place in the file.
Create a group called:
AI Variations
Then name the useful layers clearly:
background-extend_v01
background-extend_v02
object-removal_clean
shadow-option_a
client-direction_b
You don’t need poetic names. You need names that make sense tomorrow.
Delete weak generations early. I know, sometimes it feels wrong to delete an AI result because maybe there’s one tiny part you might use later. But keeping every version in the working file has a cost. It makes the Layers panel harder to read, increases file size, and makes it easier to edit the wrong thing.
If you want to keep extra references, export them into your ai-generated folder instead of carrying all of them inside the PSD.
I also like separating AI exploration from approved design work. For example:
AI Variations
Approved AI Edits
Archive
That way you can tell the difference between “interesting experiment” and “this is actually part of the file now.”
One more habit: don’t let AI-generated edits replace your source assets. Keep the original image. Keep the mask. Keep the adjustment layers. Treat the generated result as a layer in the workflow, not as the new source of truth.
This matters because AI outputs can look convincing at first glance and weird under review. A hand, a reflection, a shadow, an edge, a repeated texture. The kind of thing you notice right after sending the preview. Naturally.
Generative Fill is best when it gives you options without taking over the file.
Use it early, but keep it contained. That’s the difference between AI helping the workflow and AI turning the PSD into a junk drawer with better lighting.
#7. Save a clean version and export an early preview
Minute 23 to 27.
By this point, you should have the project goal, workspace, assets, layer structure, performance check, and first AI experiments under control.
Now save a clean version.
Not just Untitled-1.psd. Not a random file on the desktop. Save the first real working file with a name that tells you what it is:
project-name_v01.psd
If it’s already client-facing or tied to a campaign, be more specific:
campaign-hero_v01.psd
product-retouching_batch-01_v01.psd
landing-page-visual_v01.psd
Versioning early feels unnecessary until it saves you. A clean v01 gives you a stable point to return to if the file gets messy, the direction changes, or an experiment goes sideways.
Then export an early preview.
This does not need to be polished. It just needs to show the direction clearly enough for you, a teammate, or a client to catch obvious problems before you spend two more hours refining the wrong thing.
For most previews, a JPG is fine. For transparency checks, use PNG. For print review, maybe PDF. For layered handoff, PSD. The format depends on the job, but the reason is the same: get a reality check before the file becomes too invested in one direction.
A simple preview naming system works:
project-name_v01-preview.jpg
project-name_v01-option-a.jpg
project-name_v01-option-b.jpg
If the project has multiple sizes or artboards, export a quick set:
campaign_v01-instagram.jpg
campaign_v01-story.jpg
campaign_v01-web-hero.jpg
This is not busywork. It catches problems.
Maybe the composition looks good zoomed in but weak at actual size. Maybe the text is too small. Maybe the image crops badly in a social format. Maybe the AI-generated background looks fine inside Photoshop but strange once exported. Maybe the client hates the whole direction, which is painful, but less painful at minute 27 than hour 4.
I’ve learned to distrust anything that only looks good inside the working file.
Export it. Look at it like someone else would. Then keep going.
#8. Consider Vagon Cloud Computer
Minute 27 to 30.
This is the moment to be honest about the setup.
Not dramatic. Just honest.
Is your local machine handling the file comfortably? Are saves quick? Is panning smooth? Is Generative Fill responding without long delays? Do you have enough storage? Can you keep working if you need to switch devices later?
If the answer is yes, keep working locally. No need to complicate the project.
But if the file already feels heavy in the first 30 minutes, or you know it’s going to become a large layered PSD with high-resolution assets, AI variations, Smart Objects, and multiple exports, it may be smarter to move the workflow before the project gets harder to relocate.
That’s where Vagon Cloud Computer fits.
Vagon Cloud Computer lets you run Photoshop on a high-performance cloud machine and access that workspace from another device. For Photoshop users, that can be useful when the project is bigger than the laptop, tablet, or local desktop you happen to be using.
The best use cases are practical:
You’re working from a lightweight laptop
Your PSD is already getting large
You’re using high-resolution images
You’re creating many AI-generated variations
Your local GPU, RAM, or storage is limiting the workflow
You need the same Photoshop environment across devices
You want to avoid buying a new workstation for occasional heavy projects
You’re working remotely and need a more consistent setup
If you’re on a Chromebook, Vagon also has a dedicated guide on running Adobe Photoshop on Chromebook without relying on local hardware. And if your workflow often moves between desktop and tablet, this guide on how to use Photoshop on iPad may be useful too.
I wouldn’t frame Vagon Cloud Computer as something every Photoshop user needs. That would be silly. Plenty of Photoshop work runs fine on local machines.
The better question is: where is the friction?
If the friction is creative direction, Vagon won’t fix that. If the friction is messy layers, Vagon won’t fix that either. But if the friction is performance, device switching, storage limits, or access to a consistent workstation, starting on Vagon Cloud Computer can make the rest of the project feel much smoother.
The first 30 minutes are not only about the Photoshop file.
They’re about choosing the right environment before the file gets too heavy to move comfortably.
The first 30 minutes checklist
You don’t need to follow this like a stopwatch.
If you spend four minutes on assets instead of three, nobody is coming to take away your Photoshop license. The point is not timing perfection. The point is building the habit of checking the right things early.
Here’s a practical first 30-minute routine.
Time | Focus | What to check |
|---|---|---|
0 to 3 minutes | Confirm the output | Know whether the final is digital, print, or both. Confirm the canvas size, file purpose, and whether someone else will review or edit the PSD later. |
3 to 6 minutes | Set up the workspace | Open the panels you actually need, such as Layers, Properties, Adjustments, History, Libraries, or Character. Turn on guides, grids, rulers, or Smart Guides if they help the project. |
6 to 10 minutes | Bring in assets carefully | Create a project folder, separate source files from exports, import only the assets you need for the first pass, and use Smart Objects or linked files where they make sense. |
10 to 15 minutes | Build the first layer structure | Create clear layer groups, name important layers, leave space for AI-generated variations, and keep an Archive group for experiments you might want later. |
15 to 18 minutes | Check performance | Notice early lag, check free disk space, confirm the scratch disk is healthy, close unnecessary apps, and think about whether the file will become much heavier later. |
18 to 23 minutes | Use AI intentionally | Keep AI outputs organized in their own group, name useful generations, delete weak results, export extra references outside the PSD, and protect the original source image. |
23 to 27 minutes | Save and export a preview | Save the first clean PSD version, use a clear filename, export an early preview, and check whether the design still works outside Photoshop. |
27 to 30 minutes | Decide on Vagon Cloud Computer | If the file is already heavy, the project will grow, you need to switch devices, or you’re working remotely, consider moving the workflow to Vagon Cloud Computer before the file gets harder to manage. |
This checklist is not there to slow you down. It’s there to catch problems while they are still small.
That’s the real value of the first 30 minutes. You’re not trying to make the whole project perfect. You’re just making sure the file, the workspace, and the machine are ready for the work you’re about to ask from them.
FAQs
1. What should I do first when starting a Photoshop project?
Start by defining the final output. Decide whether the project is digital, print, or both, what size it needs to be, whether it will be reviewed by someone else, and whether it needs to stay editable. Those early decisions shape your canvas, color mode, asset structure, layer setup, and export plan.
2. How long should Photoshop project setup take?
For most projects, 10 to 30 minutes is enough. A quick edit may only need a minute or two. A client campaign, product retouching job, AI-assisted composition, or print project deserves more setup time because the cost of fixing mistakes later is much higher.
3. When should I use Generative Fill in a Photoshop workflow?
Use Generative Fill when you need to extend a background, remove an object, fill missing areas, or test visual directions quickly. Just keep the results organized. Create an AI Variations group, name useful generations, delete weak ones, and avoid letting every experiment stay inside the working PSD.
4. How do I keep Photoshop from slowing down during a project?
Start with a clean file structure, avoid keeping unnecessary AI variations, use Smart Objects intentionally, and check performance early. Also make sure you have enough RAM, free disk space, a healthy scratch disk, and only the apps you actually need open during heavy work.
5. When should I use Vagon Cloud Computer for Photoshop?
Use Vagon Cloud Computer when your local machine becomes the bottleneck. It is most useful for large PSDs, high-resolution assets, AI-heavy workflows, remote work, switching between devices, or working from a lightweight laptop that struggles with heavier Photoshop projects.
Get Beyond Your Computer Performance
Run applications on your cloud computer with the latest generation hardware. No more crashes or lags.

Trial includes 1 hour usage + 7 days of storage.
Summarize with AI

Ready to focus on your creativity?
Vagon gives you the ability to create & render projects, collaborate, and stream applications with the power of the best hardware.

Vagon Blog


Run heavy applications on any device with
your personal computer on the cloud.
San Francisco, California
Solutions
Vagon Teams
Vagon Streams
Use Cases
Resources
Vagon Blog
The First 30 Minutes in Blender 3D: A Practical Workflow Guide
What’s New in Godot 4.7? Key Features, Upgrades, and Workflow Improvements
What Slows Down Blender 3D Projects?
What Slows Down Adobe Photoshop Projects?
The First 30 Minutes in Adobe Photoshop: A Practical Workflow Guide
Before You Start in Adobe Photoshop: A Practical Setup Checklist
What’s New in Unreal Engine 5.8? Key Features and Upgrade Advice
How to Run Windows on an iPad: 4 Best Ways (2026)
How to Run Windows on Mac: Every Method Tested (2026)
Vagon Blog
Run heavy applications on any device with
your personal computer on the cloud.
San Francisco, California
Solutions
Vagon Teams
Vagon Streams
Use Cases
Resources
Vagon Blog