Instant Connection for Pixel Streaming
— New Feature Automated Setup

What Slows Down Adobe Photoshop Projects?
What Slows Down Adobe Photoshop Projects?
DigitalArt
What Slows Down Adobe Photoshop Projects?
Table of Contents
Photoshop rarely becomes slow all at once.
It usually starts quietly. A few extra layers. One oversized image dragged in from a camera folder. A Smart Object duplicated five times because you wanted to keep options open. A couple of Generative Fill variations sitting in the file, just in case. Then, 40 minutes later, every brush stroke has a tiny delay and zooming around the canvas feels heavier than it should.
That’s the annoying part. Photoshop slowdown often feels sudden, but the reasons usually build up in the background.
And no, the answer is not always “close your browser tabs and restart your computer.” Sure, that might help for five minutes. But if the PSD itself is bloated, your scratch disk is nearly full, your GPU is struggling, or the file is living inside a synced cloud folder that keeps trying to update every change, the problem will come back.
This guide is a practical diagnosis checklist for Photoshop projects that start feeling slow, laggy, or unstable. Not a generic performance pep talk.

We’ll look at what actually makes Photoshop projects heavier: file structure, oversized assets, layers, Smart Objects, scratch disk space, GPU limits, plugins, cloud storage habits, AI-generated variations, and the point where your local machine may simply be the wrong place to keep working. That’s also where Vagon Cloud Computer can make sense, especially for heavier creative workflows that need more consistent performance than a lightweight laptop can comfortably provide.
#1. The file is heavier than it looks
A Photoshop file can look simple on screen and still be doing a lot of work underneath.
One image on a canvas does not always mean one lightweight file. If that image is 8,000 pixels wide, placed as a Smart Object, duplicated into several versions, masked, filtered, and kept alongside hidden experiments, Photoshop has to carry all of that. Even if you only see a neat composition.
This is where a lot of slowdown begins.
Canvas size is usually the first suspect. A 1200 x 1200 social graphic and a 6000 x 4000 print layout are not asking the same thing from Photoshop. Larger dimensions mean more pixels to render, more memory pressure, and heavier previews every time you zoom, pan, transform, or apply an effect.
Resolution matters too, but not in the vague “higher is better” way people sometimes use it. If the project is only going to live on a website, you probably do not need to build the entire thing like a billboard. On the other hand, if it is for print, you do need enough resolution for the final size. The trick is knowing the output before the file gets messy.
Bit depth can also sneak up on you. Working in 16-bit or 32-bit can be useful for certain photography, retouching, and compositing workflows. But if you are making a quick marketing graphic or a simple layout, that extra data may not be doing much for you besides making the file heavier.

Then there are artboards. I like artboards when they are used on purpose. One campaign with a few related sizes? Great. Twenty variations, old directions, unused experiments, and half-finished social posts in the same PSD? That is where things start to drag.
Hidden layers are another classic. Photoshop does not forget about a layer just because you turned off the eye icon. The file still carries it. If you keep every version, every discarded background, every AI experiment, and every old imported asset inside the PSD, the project can become heavy long before it looks complicated.
A useful habit: check the actual file size early. If a PSD feels too heavy for what it visually contains, it probably has baggage. Oversized assets, hidden layers, embedded Smart Objects, or old experiments are usually hiding somewhere.
Before blaming Photoshop, ask a simpler question:
Is this file bigger than the project needs to be?
Sometimes that answer explains half the lag.
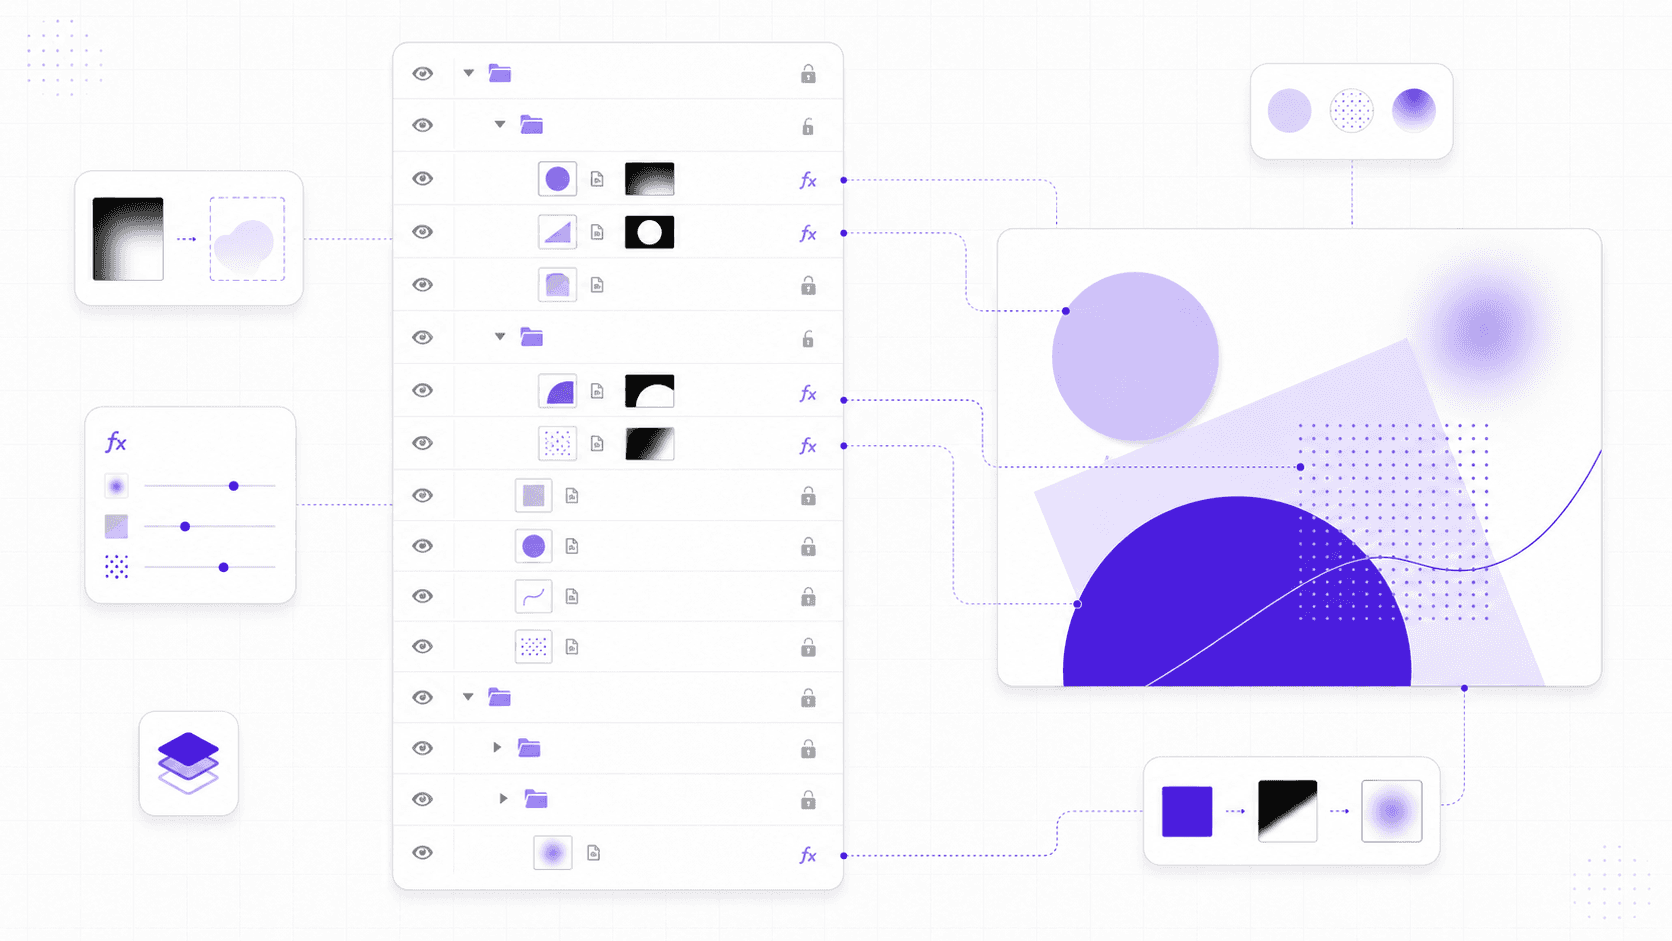
#2. Layers, Smart Objects, and effects stack up
Photoshop gives you a lot of ways to keep work editable. That’s good. It’s also one of the easiest ways to make a file slow.
Smart Objects are a perfect example. I use them all the time, especially for logos, mockups, product shots, repeated design elements, and anything I might need to resize without destroying the original pixels. They’re useful. They’re also not magic.
Every Smart Object has to store its own source content. If you embed a huge image as a Smart Object, duplicate it several times, apply filters, add masks, then keep a few alternate versions hidden in the file, Photoshop is now managing much more than the flat image you see on the canvas.
The same goes for layer effects. Drop shadows, glows, strokes, bevels, overlays, and blur-heavy effects can add up quickly. One shadow is nothing. Fifty layered effects across a large canvas, especially with high-resolution assets, can make moving around the file feel sluggish.
Adjustment Layers are usually better than permanent edits, but they still ask Photoshop to calculate changes. Curves, Levels, Hue/Saturation, Color Balance, Selective Color, Gradient Maps, and lookup tables can all be part of a healthy workflow. The problem is when they pile up without structure.
Masks are similar. A few clean masks are fine. But complex masks, especially on large images or Smart Objects, can add extra processing every time Photoshop redraws the image. If you have multiple masked versions of the same giant photo, the file may feel heavier than expected.
And then there are filters.
Smart Filters are great when you need flexibility. But if you keep every blur, sharpening pass, Camera Raw Filter, Liquify adjustment, and experimental effect live forever, the file can become slow to open, slow to save, and slow to preview. At some point, editability turns into clutter.
I’m not saying you should flatten everything. Please don’t. A flattened file is fast, but it can also become useless the second a client asks for a small change.
The better habit is to separate working flexibility from old baggage.
Keep the layers you still need. Archive the ones you might need. Delete the ones you know you won’t. If a direction is dead, it does not need to live inside the main PSD forever. Save a separate version if you really want a record of it.
A clean layer structure can make Photoshop feel lighter, but it also makes you faster. When you know where things are, you stop clicking through twenty unnamed copies of “Layer 47” just to find the one shadow you meant to adjust.
That kind of slowdown is not only technical. It’s mental too.
#3. Your assets are working against you
Sometimes Photoshop is not the real problem. The stuff you bring into Photoshop is.
Oversized images are the obvious one. If you drag a 45-megapixel photo into a small web banner, Photoshop still has to deal with the original image data, especially if you place it as a Smart Object. That may be exactly what you want for a high-end retouching workflow. For a quick hero image? Maybe not.
I’ve seen people build tiny social graphics with source images large enough for print posters. It works at first. Then they duplicate the image, mask it, add a blur, create three color versions, keep the original hidden, and suddenly the “simple” graphic is hundreds of megabytes.
Linked files can help, but only if they’re organized. A linked asset that lives in a random downloads folder, an external drive, or a shared cloud folder can create its own problems. If Photoshop has to keep checking for linked content, or if the file path breaks, the project becomes more fragile.

Cloud-synced folders are another quiet performance trap.
Working from Dropbox, Google Drive, OneDrive, or a similar synced folder can be convenient, but it can also make active PSD work feel weirdly slow. Every save may trigger sync activity. Large PSDs can change often. If the sync tool starts uploading while Photoshop is still saving, your machine is now juggling design work, disk activity, and network activity at the same time.
That does not mean you should never use cloud storage. It just means there is a difference between storing a finished file in the cloud and actively editing a heavy PSD inside a constantly syncing folder.
External drives can cause the same kind of issue, especially slow drives. If your project lives on an old USB drive, a nearly full external disk, or a network volume, Photoshop may feel worse than it should. Fast local SSD storage is usually a better place to work, then you can back up or sync after.
Fonts, logos, references, exports, and AI-generated assets also matter. If they’re scattered across Downloads, Desktop, Slack attachments, email threads, and five folders named “final,” the project slows down in a different way. Not because Photoshop can’t render the file, but because you keep losing the pieces.
A simple folder structure helps more than people think:
Project Name
Source Assets
Working Files
AI Variations
Exports
References
Nothing fancy. Just enough structure so the PSD knows where things are, and you do too.
Before importing assets, ask yourself two questions:
Do I need this at full size?
And will I know where it came from two weeks from now?
If the answer to either one is no, fix it before the file gets heavy.
#4. Memory and scratch disk space matter
When Photoshop slows down, people usually blame RAM first. Sometimes they’re right. But RAM is only part of the story.
Photoshop uses memory while you work. Big canvases, large images, many layers, Smart Objects, filters, masks, and AI-generated content all increase the amount of data Photoshop has to keep available. When there is not enough RAM, Photoshop starts leaning more heavily on scratch disk space.
Scratch disk sounds more mysterious than it is. It is basically temporary storage Photoshop uses when it needs extra working room. Adobe describes scratch disks as storage drives Photoshop uses for temporary data when your system does not have enough memory available. So if your RAM is crowded and your scratch disk is slow or nearly full, Photoshop can start feeling rough fast.
This is why “scratch disk full” is not just an annoying error message. It is Photoshop telling you it does not have enough room to work.
Free disk space matters. A lot.
If your main drive is almost full, Photoshop has less space for temporary files, history states, cache data, and large operations. You might still be able to open the PSD, but transforms, saves, filters, and AI features can become slower or less stable.

The speed of that disk matters too. A fast internal SSD is very different from an old external hard drive. If Photoshop’s scratch disk is pointed at a slow drive, or if your working file is also sitting on slow storage, you are asking the software to move heavy data through a narrow pipe.
There is also a practical detail people forget: scratch disk space should not be the same space you are constantly filling with exports, screen recordings, downloads, and random project folders. If your drive is always hovering near full, Photoshop has less breathing room every time a project gets bigger.
History states can add pressure as well. More history gives you more undo flexibility, which is nice. But it also means Photoshop may need to keep more temporary data while you work. For some workflows, that tradeoff is worth it. For others, especially very large files, lowering history states can help.
The goal is not to obsess over settings every morning. It is to recognize the pattern.
If Photoshop gets slower when the file grows, saves take longer, filters hesitate, or you see scratch disk warnings, check the basics before you start blaming the whole app:
Is there enough free disk space?
Is the scratch disk on a fast drive?
Are you working from slow external storage?
Are too many huge files open at once?
Is Photoshop allowed enough memory in its performance settings?
These are boring questions. They are also the questions that save projects.
If you are trying to figure out whether your current machine is actually built for this kind of workload, Vagon’s guide to the best PC and laptop for Photoshop is a useful next read.
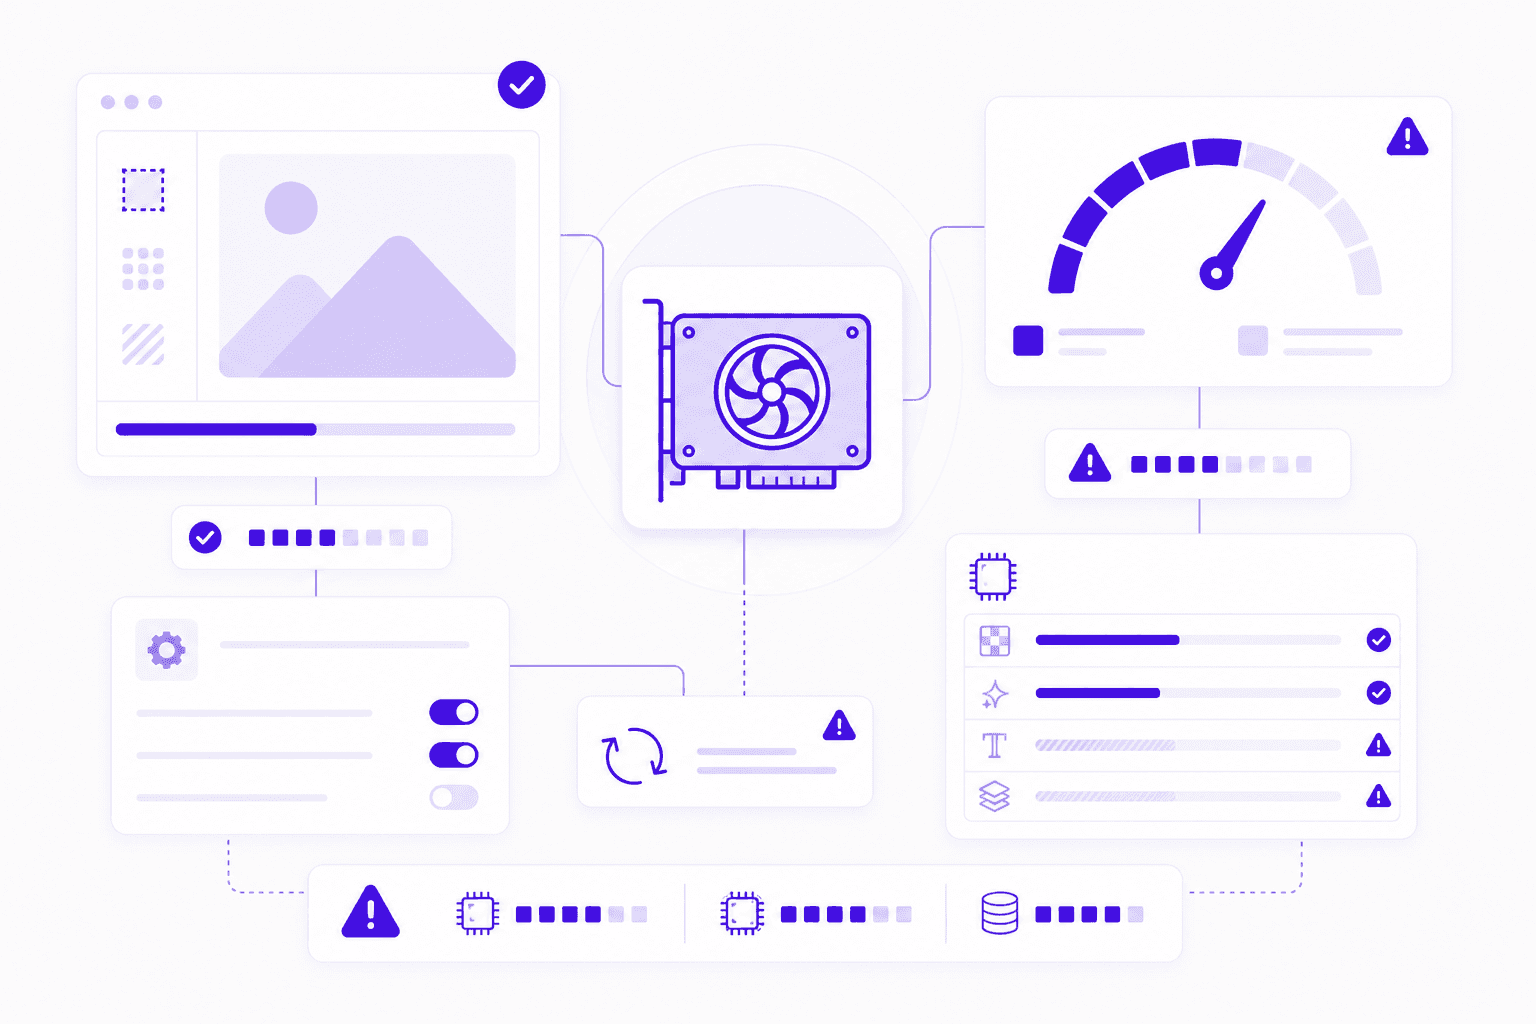
#5. GPU acceleration is not always the answer
A better GPU can help Photoshop. It just does not help every part of Photoshop equally.
That’s where people get disappointed. They upgrade a graphics card, open the same huge PSD, and expect every brush stroke, save, filter, and export to become instantly faster. Then Photoshop still lags in a few places and the whole thing feels confusing.
Photoshop uses the GPU for specific features and display-related tasks. Things like smooth zooming, canvas rotation, some blur effects, certain neural and AI-powered features, and parts of the visual rendering experience can benefit from GPU support. But saving a huge PSD, opening a massive file, or managing hundreds of layers may still depend heavily on CPU, RAM, disk speed, and file structure.
So yes, the GPU matters. It is just not the only bottleneck.
GPU issues can also create problems that look like general Photoshop instability. Flickering, black canvas previews, delayed zooming, weird display glitches, freezing, or crashes can sometimes point back to the graphics processor or its driver. Adobe’s own troubleshooting guidance often starts with checking GPU compatibility, updating the driver, or testing Photoshop with the graphics processor disabled.
For a more practical setup walkthrough, here’s a separate guide on how to use GPU on Adobe Photoshop.
That last part matters. If turning off GPU acceleration makes a problem disappear, the issue probably was not your brush, your layer, or your creative choices. It was the graphics pipeline.
Driver age is a big one, especially on Windows. A GPU can technically be powerful enough and still behave badly if the driver is outdated, unstable, or not supported well by the current Photoshop version. On macOS, you have less manual driver management, but OS version and hardware generation still matter.
GPU memory also matters. Large canvases, multiple displays, high-resolution monitors, and GPU-accelerated features can all increase pressure. If you are working on a 4K or 5K display with large files and lots of panels open, the graphics side of the workflow has more to handle than it would on a smaller screen.
This is why performance advice like “just get a better GPU” is too simple.
A Photoshop project slows down because several systems are sharing the load:
CPU handles many calculations and general processing.
RAM keeps active working data available.
Storage handles saving, loading, scratch disk activity, and temporary files.
GPU helps with display, previews, acceleration, and some newer features.
If one of those is weak, the others can only do so much.
For Photoshop users working with large files, AI features, external monitors, or demanding visual workflows, GPU health is worth checking early. Make sure Photoshop recognizes the graphics processor. Keep drivers current. Watch for display glitches. And if a file feels slow even on strong hardware, look beyond the GPU too.
Sometimes the graphics card is the problem.
Sometimes it is just the easiest thing to blame.
If you want a more hardware-specific breakdown, we also covered the best GPU for Photoshop and how different GPU choices affect creative workflows.
#6. AI features can create hidden clutter
Photoshop’s AI features are useful. They can also turn one clean file into a pile of almost-good options surprisingly quickly.
Generative Fill, Generative Expand, Remove Tool improvements, and AI-assisted edits make experimentation easier. That’s the point. You can try a background extension, remove an object, create a few alternate compositions, or test a visual direction without rebuilding everything manually.
But there is a catch: easy variations create more stuff to manage.
One prompt becomes three options. Then you try another prompt. Then you keep the best result, but you also keep the second-best result because maybe the client will prefer it. Then you duplicate the layer, mask part of it, generate again, hide two versions, and suddenly your PSD has an entire hidden neighborhood of AI experiments.
This is not a moral problem. It is a file management problem.

AI-generated layers can make projects heavier because they often include new pixel content, masks, and alternates. If you keep every version inside the main PSD, Photoshop has to save and carry all of it. The file gets larger. Saves take longer. Layer panels become harder to read. And the next time you open the project, you may not even remember which generated version was the good one.
The bigger issue is that AI makes it easy to avoid decisions.
Before AI tools, you might test one or two directions because each one took effort. Now you can generate ten variations in a few minutes. That is powerful, but only if you also build a habit of editing the options down.
I’d treat AI output like raw footage. Useful, but not all of it belongs in the final working file.
A clean workflow helps:
Create an
AI Variationsgroup.Name useful generations with plain labels.
Delete weak outputs quickly.
Keep the original source image protected.
Export extra references outside the PSD if you may want them later.
Save a separate experiment file if you are exploring heavily.
The goal is not to use fewer AI features. It is to keep AI from becoming invisible clutter.
If the file starts lagging after a long round of Generative Fill or Generative Expand, check what you kept. You may not have a Photoshop performance problem yet. You may have a decision problem hiding inside the Layers panel.
If the slowdown turns into freezing or repeated app failures, this guide to common crash reasons for Photoshop can help you narrow down the cause.
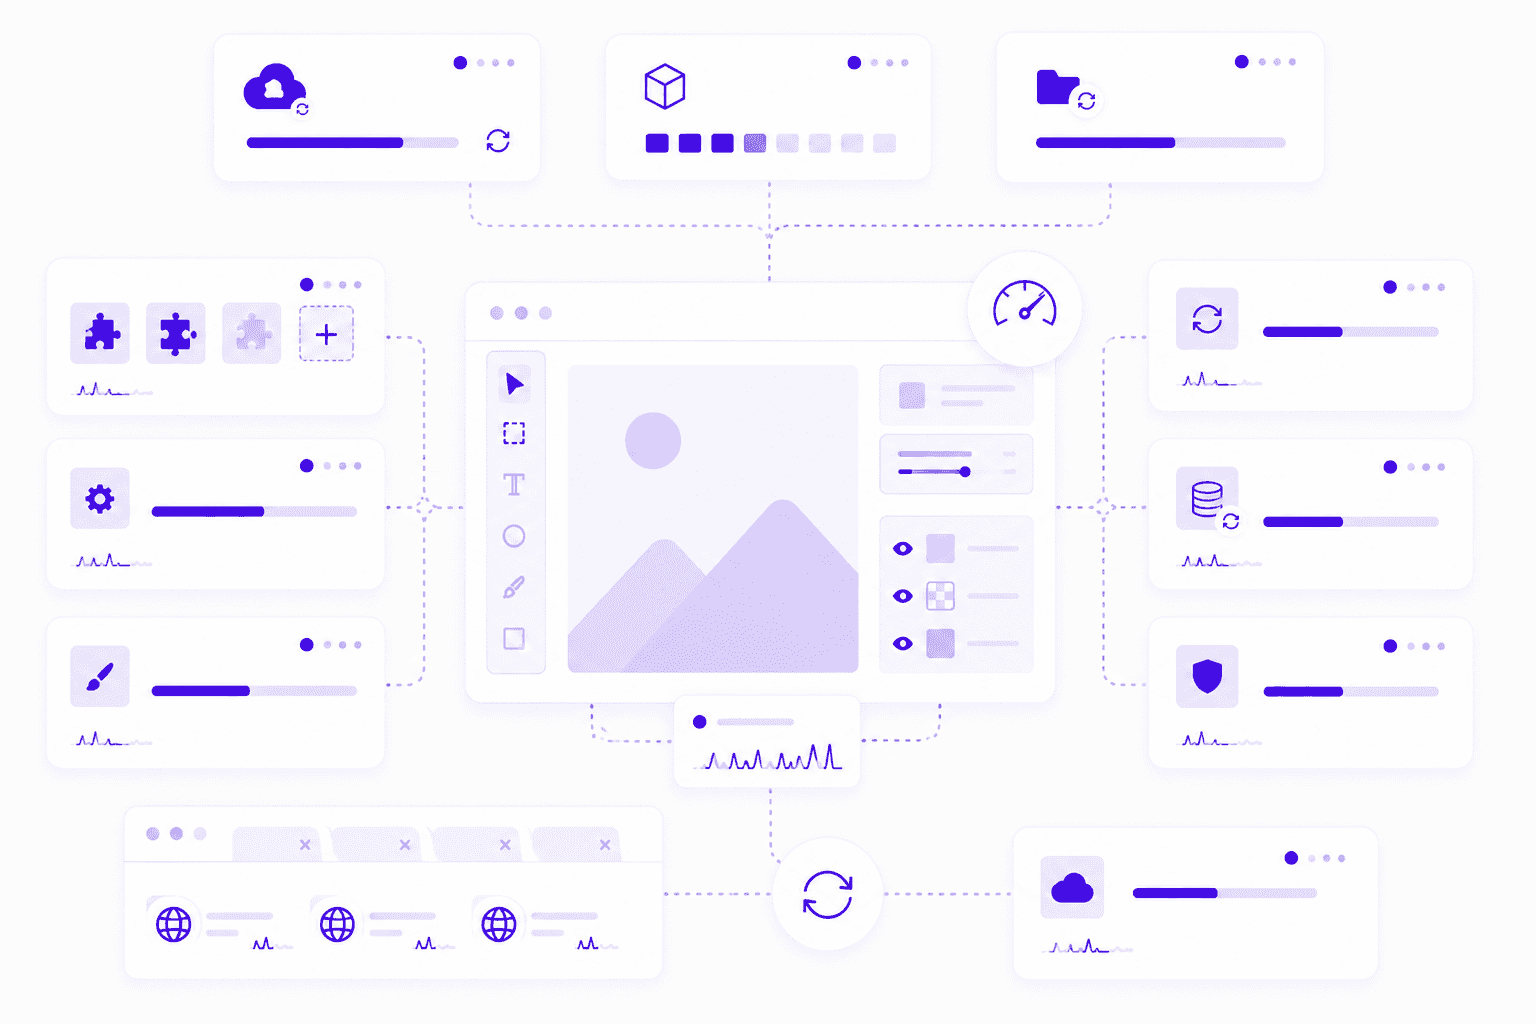
#7. Background apps and sync tools add pressure
Sometimes the PSD is fine. Photoshop is fine too.
Your machine is just busy.
Creative work rarely happens in a clean little bubble. You might have Photoshop open next to Chrome, Slack, Figma, Spotify, Dropbox, Google Drive, a screen recorder, a font manager, Creative Cloud, and maybe a few “quick reference” browser tabs that became thirty tabs without permission.
Photoshop can still run in that situation. But it has to share.
RAM gets divided. CPU attention gets split. Disk activity increases. Sync tools watch folders. Browser tabs keep eating memory. Screen recorders capture the display while you are trying to paint, transform, or export. None of these things may break the project alone, but together they can make Photoshop feel slower than the file itself deserves.
Plugins can add another layer of friction.
Some Photoshop plugins are excellent. Others are old, heavy, poorly maintained, or just not needed for the project in front of you. Extensions that load on startup, asset panels that keep syncing, font tools that constantly scan libraries, and automation plugins can all increase the amount of work Photoshop does in the background.
If Photoshop feels slow even with a reasonable file, try opening it in a cleaner environment. Fewer apps. No unnecessary plugins. No active screen recording. No giant browser session sitting beside it. If performance suddenly improves, the problem was not only Photoshop.
Sync tools deserve special attention.
Working inside Dropbox, Google Drive, OneDrive, iCloud Drive, or another synced folder can be convenient, but heavy PSDs are not always friendly to real-time syncing. Photoshop saves large files. Sync tools notice those changes. Then they start uploading, indexing, or creating temporary versions while you are still working.
That can make saving slower. It can also create conflict copies if the file is touched from multiple places. In the worst cases, it makes the project feel unstable for reasons that are hard to trace.
A better habit is simple: work locally, then sync deliberately.
Use cloud storage for backup, sharing, and handoff. But for a large active Photoshop file, especially one with many layers or linked assets, a fast local working folder is usually safer. When the session is done, move or sync the finished version.
The same idea applies to external drives and network storage. They are useful for archiving and transferring files. They are not always the best place to actively edit a heavy PSD.
When Photoshop feels slower than expected, check the room around it:
What else is open?
What is syncing?
What is recording?
What plugins are loaded?
Is the PSD being edited from a cloud folder, external drive, or network volume?
Performance is not only about the app. It is about the whole workspace.
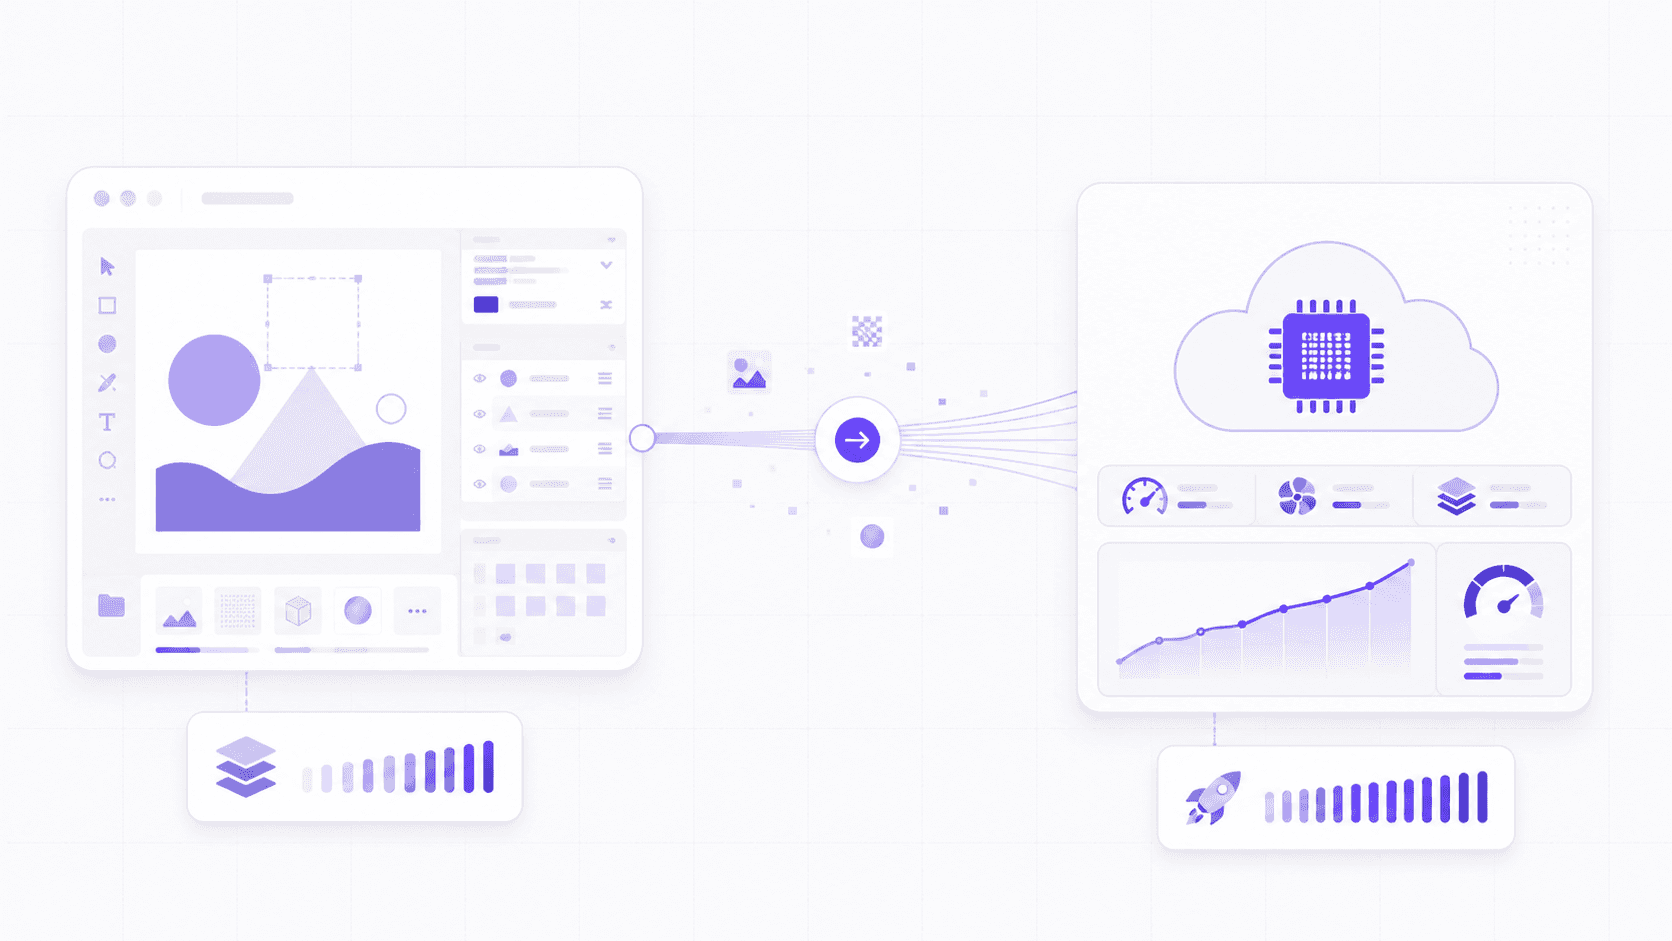
#8. Vagon Cloud Computer for heavier Photoshop work
Sometimes the honest answer is simple: the project has outgrown the computer.
That does not mean your device is bad. A lightweight laptop can be perfect for writing, browsing, email, Figma reviews, quick edits, and a lot of day-to-day creative work. But Photoshop can become a different kind of workload once the file gets large enough.
A big PSD with high-resolution images, many layers, Smart Objects, masks, AI-generated variations, multiple artboards, and external references can push several parts of the system at once. RAM fills up. The scratch disk gets used more heavily. The GPU has more display work to handle. Saves take longer. The machine gets warm. Fans get loud. Then every small edit starts to feel like a negotiation.
This is especially common when the project changes halfway through.
A simple social graphic becomes a full campaign. A quick retouch turns into a layered composite. A clean product image becomes five AI-assisted directions. A file that started comfortably on your laptop slowly becomes something your laptop can technically open, but not comfortably handle.
That gap matters.
There is a difference between “Photoshop runs” and “Photoshop feels good enough to work in for three hours.” If every transform has a delay, every save interrupts your focus, and every AI generation makes you nervous the app might freeze, the machine is shaping the creative process more than it should.
This is where Vagon Cloud Computer can make sense.
Instead of forcing a heavy Photoshop workflow through a local device that is already struggling, you can run the work on a powerful cloud computer and access it from the device you already have. That can be useful if you are working from a lightweight laptop, switching between devices, handling large PSDs, using AI-generated variations, or trying to keep a consistent creative environment while working remotely.
I would not position it as something every Photoshop user needs all the time. If your local machine is fast, the file is small, and the project is simple, stay local. No need to complicate a simple job.
But if the project is getting heavier, and you can already feel the slowdown building, moving to Vagon Cloud Computer early is usually smarter than waiting until the file becomes painful to manage.
The best time to fix a performance problem is before it becomes part of your workflow.
This can be especially useful if you want to use Adobe Photoshop on Chromebook or keep working from a lighter device without giving up a stronger desktop-style environment.
Photoshop slowdown checklist
You do not need to rebuild your entire workflow every time Photoshop hesitates.
But when the same file keeps lagging, saving slowly, freezing, or feeling heavier than it should, don’t just keep pushing through it. Slowdowns usually leave clues. You just have to check the right places.
Area | What to check |
File size | Canvas dimensions, resolution, bit depth, artboards, and hidden layers that may be making the PSD heavier than it looks. |
Layers | Smart Objects, live effects, masks, filters, adjustment layers, and old experiments that are still sitting inside the file. |
Assets | Oversized imports, broken linked files, scattered references, synced folders, external drives, or cloud storage slowing the workflow down. |
Memory | RAM pressure, scratch disk space, available disk space, history states, and whether too many large files are open at once. |
GPU | Graphics processor settings, driver age, GPU memory, external displays, and display glitches that may point to acceleration issues. |
AI workflow | Generative layers, unused variations, hidden AI outputs, and extra references saved inside the main PSD. |
Workspace | Background apps, browser tabs, plugins, sync tools, screen recorders, and whether Vagon Cloud Computer would be a better place to keep working. |
This checklist is not about blaming one thing. That is usually not how Photoshop performance works.
A slow project is often the result of several small pressures stacking up at once: a heavy file, a crowded layer panel, low disk space, an overloaded GPU, active sync tools, and a few AI variations you forgot to clean up.
Fix the obvious problems first. Shrink what does not need to be huge. Delete what you know you will not use. Move heavy active files out of synced folders. Check scratch disk space. Update GPU drivers if needed. And if the project has clearly outgrown your local setup, move the work somewhere that can handle it better.
Photoshop is much easier to troubleshoot when you stop treating “slow” as one problem. It is usually a pile of smaller ones.
And if your workflow moves between desktop and tablet, our guide on how to use Photoshop on iPad may help you decide where each part of the work fits best.
FAQs
1. Why is Photoshop slow even with a good computer?
Because Photoshop performance is not only about having a “good computer.” A strong machine can still struggle with an oversized PSD, hundreds of layers, heavy Smart Objects, low scratch disk space, outdated GPU drivers, background sync tools, or too many AI-generated variations inside the file. Hardware helps, but file structure and storage habits matter too. If Photoshop is slow on a good computer, check the file first. Look at canvas size, hidden layers, Smart Objects, linked assets, scratch disk space, and whether the file is being edited from a synced folder or external drive.
2. Does Photoshop use CPU or GPU more?
Both, but not for the same things. Photoshop uses the CPU for a lot of general processing, calculations, filters, and file operations. The GPU helps with display performance, smooth zooming, canvas rotation, some accelerated effects, and certain newer features. A better GPU can help, especially with large displays and GPU-accelerated features, but it will not automatically make every Photoshop task faster. Saving a huge PSD, opening a massive file, or managing a messy layer stack may still depend heavily on CPU, RAM, and storage speed.
3. Why does Photoshop say scratch disk full?
Photoshop uses scratch disk space as temporary working storage when it needs more room than available RAM can provide. If the scratch disk is full, Photoshop may not have enough space for temporary files, history states, large edits, filters, or other operations. This can happen when your main drive is nearly full, the scratch disk is set to a small or slow drive, or the project itself is very large. Freeing disk space, choosing a faster scratch disk, clearing unnecessary files, and closing large unused documents can help.
4. Do Smart Objects slow down Photoshop?
They can. Smart Objects are useful because they preserve original content and keep edits flexible. But large embedded Smart Objects, duplicated Smart Objects, Smart Filters, and complex masks can make a PSD heavier. The goal is not to avoid Smart Objects. The goal is to use them intentionally. Keep them where editability matters, but do not let old experiments and oversized embedded files pile up inside the main PSD forever.
5. Can Generative Fill make Photoshop slower?
Yes, especially if you keep every generated result inside the PSD. Generative Fill and other AI-assisted features can create extra layers, masks, variations, and pixel data. A few generations are fine. A long session of experiments can make the file much larger and harder to manage. A cleaner approach is to keep an AI Variations group, name useful results, delete weak outputs, and export extra references outside the PSD if you might need them later.
6. When should I use Vagon Cloud Computer for Photoshop?
Use Vagon Cloud Computer when the project starts asking for more than your local machine can comfortably provide. That might mean large PSD files, many layers, high-resolution assets, AI-generated variations, external monitors, remote work, or switching between devices. If Photoshop technically runs but feels slow, unstable, or frustrating during heavier projects, Vagon Cloud Computer can give you a more powerful workspace without depending only on your local hardware. For small edits and lightweight files, your local machine may be enough. For heavier Photoshop work, it can be better to move early instead of waiting until the project becomes painful.
Photoshop rarely becomes slow all at once.
It usually starts quietly. A few extra layers. One oversized image dragged in from a camera folder. A Smart Object duplicated five times because you wanted to keep options open. A couple of Generative Fill variations sitting in the file, just in case. Then, 40 minutes later, every brush stroke has a tiny delay and zooming around the canvas feels heavier than it should.
That’s the annoying part. Photoshop slowdown often feels sudden, but the reasons usually build up in the background.
And no, the answer is not always “close your browser tabs and restart your computer.” Sure, that might help for five minutes. But if the PSD itself is bloated, your scratch disk is nearly full, your GPU is struggling, or the file is living inside a synced cloud folder that keeps trying to update every change, the problem will come back.
This guide is a practical diagnosis checklist for Photoshop projects that start feeling slow, laggy, or unstable. Not a generic performance pep talk.
We’ll look at what actually makes Photoshop projects heavier: file structure, oversized assets, layers, Smart Objects, scratch disk space, GPU limits, plugins, cloud storage habits, AI-generated variations, and the point where your local machine may simply be the wrong place to keep working. That’s also where Vagon Cloud Computer can make sense, especially for heavier creative workflows that need more consistent performance than a lightweight laptop can comfortably provide.
#1. The file is heavier than it looks
A Photoshop file can look simple on screen and still be doing a lot of work underneath.
One image on a canvas does not always mean one lightweight file. If that image is 8,000 pixels wide, placed as a Smart Object, duplicated into several versions, masked, filtered, and kept alongside hidden experiments, Photoshop has to carry all of that. Even if you only see a neat composition.
This is where a lot of slowdown begins.
Canvas size is usually the first suspect. A 1200 x 1200 social graphic and a 6000 x 4000 print layout are not asking the same thing from Photoshop. Larger dimensions mean more pixels to render, more memory pressure, and heavier previews every time you zoom, pan, transform, or apply an effect.
Resolution matters too, but not in the vague “higher is better” way people sometimes use it. If the project is only going to live on a website, you probably do not need to build the entire thing like a billboard. On the other hand, if it is for print, you do need enough resolution for the final size. The trick is knowing the output before the file gets messy.
Bit depth can also sneak up on you. Working in 16-bit or 32-bit can be useful for certain photography, retouching, and compositing workflows. But if you are making a quick marketing graphic or a simple layout, that extra data may not be doing much for you besides making the file heavier.
Then there are artboards. I like artboards when they are used on purpose. One campaign with a few related sizes? Great. Twenty variations, old directions, unused experiments, and half-finished social posts in the same PSD? That is where things start to drag.
Hidden layers are another classic. Photoshop does not forget about a layer just because you turned off the eye icon. The file still carries it. If you keep every version, every discarded background, every AI experiment, and every old imported asset inside the PSD, the project can become heavy long before it looks complicated.
A useful habit: check the actual file size early. If a PSD feels too heavy for what it visually contains, it probably has baggage. Oversized assets, hidden layers, embedded Smart Objects, or old experiments are usually hiding somewhere.
Before blaming Photoshop, ask a simpler question:
Is this file bigger than the project needs to be?
Sometimes that answer explains half the lag.
#2. Layers, Smart Objects, and effects stack up
Photoshop gives you a lot of ways to keep work editable. That’s good. It’s also one of the easiest ways to make a file slow.
Smart Objects are a perfect example. I use them all the time, especially for logos, mockups, product shots, repeated design elements, and anything I might need to resize without destroying the original pixels. They’re useful. They’re also not magic.
Every Smart Object has to store its own source content. If you embed a huge image as a Smart Object, duplicate it several times, apply filters, add masks, then keep a few alternate versions hidden in the file, Photoshop is now managing much more than the flat image you see on the canvas.
The same goes for layer effects. Drop shadows, glows, strokes, bevels, overlays, and blur-heavy effects can add up quickly. One shadow is nothing. Fifty layered effects across a large canvas, especially with high-resolution assets, can make moving around the file feel sluggish.
Adjustment Layers are usually better than permanent edits, but they still ask Photoshop to calculate changes. Curves, Levels, Hue/Saturation, Color Balance, Selective Color, Gradient Maps, and lookup tables can all be part of a healthy workflow. The problem is when they pile up without structure.
Masks are similar. A few clean masks are fine. But complex masks, especially on large images or Smart Objects, can add extra processing every time Photoshop redraws the image. If you have multiple masked versions of the same giant photo, the file may feel heavier than expected.
And then there are filters.
Smart Filters are great when you need flexibility. But if you keep every blur, sharpening pass, Camera Raw Filter, Liquify adjustment, and experimental effect live forever, the file can become slow to open, slow to save, and slow to preview. At some point, editability turns into clutter.
I’m not saying you should flatten everything. Please don’t. A flattened file is fast, but it can also become useless the second a client asks for a small change.
The better habit is to separate working flexibility from old baggage.
Keep the layers you still need. Archive the ones you might need. Delete the ones you know you won’t. If a direction is dead, it does not need to live inside the main PSD forever. Save a separate version if you really want a record of it.
A clean layer structure can make Photoshop feel lighter, but it also makes you faster. When you know where things are, you stop clicking through twenty unnamed copies of “Layer 47” just to find the one shadow you meant to adjust.
That kind of slowdown is not only technical. It’s mental too.
#3. Your assets are working against you
Sometimes Photoshop is not the real problem. The stuff you bring into Photoshop is.
Oversized images are the obvious one. If you drag a 45-megapixel photo into a small web banner, Photoshop still has to deal with the original image data, especially if you place it as a Smart Object. That may be exactly what you want for a high-end retouching workflow. For a quick hero image? Maybe not.
I’ve seen people build tiny social graphics with source images large enough for print posters. It works at first. Then they duplicate the image, mask it, add a blur, create three color versions, keep the original hidden, and suddenly the “simple” graphic is hundreds of megabytes.
Linked files can help, but only if they’re organized. A linked asset that lives in a random downloads folder, an external drive, or a shared cloud folder can create its own problems. If Photoshop has to keep checking for linked content, or if the file path breaks, the project becomes more fragile.
Cloud-synced folders are another quiet performance trap.
Working from Dropbox, Google Drive, OneDrive, or a similar synced folder can be convenient, but it can also make active PSD work feel weirdly slow. Every save may trigger sync activity. Large PSDs can change often. If the sync tool starts uploading while Photoshop is still saving, your machine is now juggling design work, disk activity, and network activity at the same time.
That does not mean you should never use cloud storage. It just means there is a difference between storing a finished file in the cloud and actively editing a heavy PSD inside a constantly syncing folder.
External drives can cause the same kind of issue, especially slow drives. If your project lives on an old USB drive, a nearly full external disk, or a network volume, Photoshop may feel worse than it should. Fast local SSD storage is usually a better place to work, then you can back up or sync after.
Fonts, logos, references, exports, and AI-generated assets also matter. If they’re scattered across Downloads, Desktop, Slack attachments, email threads, and five folders named “final,” the project slows down in a different way. Not because Photoshop can’t render the file, but because you keep losing the pieces.
A simple folder structure helps more than people think:
Project Name
Source Assets
Working Files
AI Variations
Exports
References
Nothing fancy. Just enough structure so the PSD knows where things are, and you do too.
Before importing assets, ask yourself two questions:
Do I need this at full size?
And will I know where it came from two weeks from now?
If the answer to either one is no, fix it before the file gets heavy.
#4. Memory and scratch disk space matter
When Photoshop slows down, people usually blame RAM first. Sometimes they’re right. But RAM is only part of the story.
Photoshop uses memory while you work. Big canvases, large images, many layers, Smart Objects, filters, masks, and AI-generated content all increase the amount of data Photoshop has to keep available. When there is not enough RAM, Photoshop starts leaning more heavily on scratch disk space.
Scratch disk sounds more mysterious than it is. It is basically temporary storage Photoshop uses when it needs extra working room. Adobe describes scratch disks as storage drives Photoshop uses for temporary data when your system does not have enough memory available. So if your RAM is crowded and your scratch disk is slow or nearly full, Photoshop can start feeling rough fast.
This is why “scratch disk full” is not just an annoying error message. It is Photoshop telling you it does not have enough room to work.
Free disk space matters. A lot.
If your main drive is almost full, Photoshop has less space for temporary files, history states, cache data, and large operations. You might still be able to open the PSD, but transforms, saves, filters, and AI features can become slower or less stable.
The speed of that disk matters too. A fast internal SSD is very different from an old external hard drive. If Photoshop’s scratch disk is pointed at a slow drive, or if your working file is also sitting on slow storage, you are asking the software to move heavy data through a narrow pipe.
There is also a practical detail people forget: scratch disk space should not be the same space you are constantly filling with exports, screen recordings, downloads, and random project folders. If your drive is always hovering near full, Photoshop has less breathing room every time a project gets bigger.
History states can add pressure as well. More history gives you more undo flexibility, which is nice. But it also means Photoshop may need to keep more temporary data while you work. For some workflows, that tradeoff is worth it. For others, especially very large files, lowering history states can help.
The goal is not to obsess over settings every morning. It is to recognize the pattern.
If Photoshop gets slower when the file grows, saves take longer, filters hesitate, or you see scratch disk warnings, check the basics before you start blaming the whole app:
Is there enough free disk space?
Is the scratch disk on a fast drive?
Are you working from slow external storage?
Are too many huge files open at once?
Is Photoshop allowed enough memory in its performance settings?
These are boring questions. They are also the questions that save projects.
If you are trying to figure out whether your current machine is actually built for this kind of workload, Vagon’s guide to the best PC and laptop for Photoshop is a useful next read.
#5. GPU acceleration is not always the answer
A better GPU can help Photoshop. It just does not help every part of Photoshop equally.
That’s where people get disappointed. They upgrade a graphics card, open the same huge PSD, and expect every brush stroke, save, filter, and export to become instantly faster. Then Photoshop still lags in a few places and the whole thing feels confusing.
Photoshop uses the GPU for specific features and display-related tasks. Things like smooth zooming, canvas rotation, some blur effects, certain neural and AI-powered features, and parts of the visual rendering experience can benefit from GPU support. But saving a huge PSD, opening a massive file, or managing hundreds of layers may still depend heavily on CPU, RAM, disk speed, and file structure.
So yes, the GPU matters. It is just not the only bottleneck.
GPU issues can also create problems that look like general Photoshop instability. Flickering, black canvas previews, delayed zooming, weird display glitches, freezing, or crashes can sometimes point back to the graphics processor or its driver. Adobe’s own troubleshooting guidance often starts with checking GPU compatibility, updating the driver, or testing Photoshop with the graphics processor disabled.
For a more practical setup walkthrough, here’s a separate guide on how to use GPU on Adobe Photoshop.
That last part matters. If turning off GPU acceleration makes a problem disappear, the issue probably was not your brush, your layer, or your creative choices. It was the graphics pipeline.
Driver age is a big one, especially on Windows. A GPU can technically be powerful enough and still behave badly if the driver is outdated, unstable, or not supported well by the current Photoshop version. On macOS, you have less manual driver management, but OS version and hardware generation still matter.
GPU memory also matters. Large canvases, multiple displays, high-resolution monitors, and GPU-accelerated features can all increase pressure. If you are working on a 4K or 5K display with large files and lots of panels open, the graphics side of the workflow has more to handle than it would on a smaller screen.
This is why performance advice like “just get a better GPU” is too simple.
A Photoshop project slows down because several systems are sharing the load:
CPU handles many calculations and general processing.
RAM keeps active working data available.
Storage handles saving, loading, scratch disk activity, and temporary files.
GPU helps with display, previews, acceleration, and some newer features.
If one of those is weak, the others can only do so much.
For Photoshop users working with large files, AI features, external monitors, or demanding visual workflows, GPU health is worth checking early. Make sure Photoshop recognizes the graphics processor. Keep drivers current. Watch for display glitches. And if a file feels slow even on strong hardware, look beyond the GPU too.
Sometimes the graphics card is the problem.
Sometimes it is just the easiest thing to blame.
If you want a more hardware-specific breakdown, we also covered the best GPU for Photoshop and how different GPU choices affect creative workflows.
#6. AI features can create hidden clutter
Photoshop’s AI features are useful. They can also turn one clean file into a pile of almost-good options surprisingly quickly.
Generative Fill, Generative Expand, Remove Tool improvements, and AI-assisted edits make experimentation easier. That’s the point. You can try a background extension, remove an object, create a few alternate compositions, or test a visual direction without rebuilding everything manually.
But there is a catch: easy variations create more stuff to manage.
One prompt becomes three options. Then you try another prompt. Then you keep the best result, but you also keep the second-best result because maybe the client will prefer it. Then you duplicate the layer, mask part of it, generate again, hide two versions, and suddenly your PSD has an entire hidden neighborhood of AI experiments.
This is not a moral problem. It is a file management problem.
AI-generated layers can make projects heavier because they often include new pixel content, masks, and alternates. If you keep every version inside the main PSD, Photoshop has to save and carry all of it. The file gets larger. Saves take longer. Layer panels become harder to read. And the next time you open the project, you may not even remember which generated version was the good one.
The bigger issue is that AI makes it easy to avoid decisions.
Before AI tools, you might test one or two directions because each one took effort. Now you can generate ten variations in a few minutes. That is powerful, but only if you also build a habit of editing the options down.
I’d treat AI output like raw footage. Useful, but not all of it belongs in the final working file.
A clean workflow helps:
Create an
AI Variationsgroup.Name useful generations with plain labels.
Delete weak outputs quickly.
Keep the original source image protected.
Export extra references outside the PSD if you may want them later.
Save a separate experiment file if you are exploring heavily.
The goal is not to use fewer AI features. It is to keep AI from becoming invisible clutter.
If the file starts lagging after a long round of Generative Fill or Generative Expand, check what you kept. You may not have a Photoshop performance problem yet. You may have a decision problem hiding inside the Layers panel.
If the slowdown turns into freezing or repeated app failures, this guide to common crash reasons for Photoshop can help you narrow down the cause.
#7. Background apps and sync tools add pressure
Sometimes the PSD is fine. Photoshop is fine too.
Your machine is just busy.
Creative work rarely happens in a clean little bubble. You might have Photoshop open next to Chrome, Slack, Figma, Spotify, Dropbox, Google Drive, a screen recorder, a font manager, Creative Cloud, and maybe a few “quick reference” browser tabs that became thirty tabs without permission.
Photoshop can still run in that situation. But it has to share.
RAM gets divided. CPU attention gets split. Disk activity increases. Sync tools watch folders. Browser tabs keep eating memory. Screen recorders capture the display while you are trying to paint, transform, or export. None of these things may break the project alone, but together they can make Photoshop feel slower than the file itself deserves.
Plugins can add another layer of friction.
Some Photoshop plugins are excellent. Others are old, heavy, poorly maintained, or just not needed for the project in front of you. Extensions that load on startup, asset panels that keep syncing, font tools that constantly scan libraries, and automation plugins can all increase the amount of work Photoshop does in the background.
If Photoshop feels slow even with a reasonable file, try opening it in a cleaner environment. Fewer apps. No unnecessary plugins. No active screen recording. No giant browser session sitting beside it. If performance suddenly improves, the problem was not only Photoshop.
Sync tools deserve special attention.
Working inside Dropbox, Google Drive, OneDrive, iCloud Drive, or another synced folder can be convenient, but heavy PSDs are not always friendly to real-time syncing. Photoshop saves large files. Sync tools notice those changes. Then they start uploading, indexing, or creating temporary versions while you are still working.
That can make saving slower. It can also create conflict copies if the file is touched from multiple places. In the worst cases, it makes the project feel unstable for reasons that are hard to trace.
A better habit is simple: work locally, then sync deliberately.
Use cloud storage for backup, sharing, and handoff. But for a large active Photoshop file, especially one with many layers or linked assets, a fast local working folder is usually safer. When the session is done, move or sync the finished version.
The same idea applies to external drives and network storage. They are useful for archiving and transferring files. They are not always the best place to actively edit a heavy PSD.
When Photoshop feels slower than expected, check the room around it:
What else is open?
What is syncing?
What is recording?
What plugins are loaded?
Is the PSD being edited from a cloud folder, external drive, or network volume?
Performance is not only about the app. It is about the whole workspace.
#8. Vagon Cloud Computer for heavier Photoshop work
Sometimes the honest answer is simple: the project has outgrown the computer.
That does not mean your device is bad. A lightweight laptop can be perfect for writing, browsing, email, Figma reviews, quick edits, and a lot of day-to-day creative work. But Photoshop can become a different kind of workload once the file gets large enough.
A big PSD with high-resolution images, many layers, Smart Objects, masks, AI-generated variations, multiple artboards, and external references can push several parts of the system at once. RAM fills up. The scratch disk gets used more heavily. The GPU has more display work to handle. Saves take longer. The machine gets warm. Fans get loud. Then every small edit starts to feel like a negotiation.
This is especially common when the project changes halfway through.
A simple social graphic becomes a full campaign. A quick retouch turns into a layered composite. A clean product image becomes five AI-assisted directions. A file that started comfortably on your laptop slowly becomes something your laptop can technically open, but not comfortably handle.
That gap matters.
There is a difference between “Photoshop runs” and “Photoshop feels good enough to work in for three hours.” If every transform has a delay, every save interrupts your focus, and every AI generation makes you nervous the app might freeze, the machine is shaping the creative process more than it should.
This is where Vagon Cloud Computer can make sense.
Instead of forcing a heavy Photoshop workflow through a local device that is already struggling, you can run the work on a powerful cloud computer and access it from the device you already have. That can be useful if you are working from a lightweight laptop, switching between devices, handling large PSDs, using AI-generated variations, or trying to keep a consistent creative environment while working remotely.
I would not position it as something every Photoshop user needs all the time. If your local machine is fast, the file is small, and the project is simple, stay local. No need to complicate a simple job.
But if the project is getting heavier, and you can already feel the slowdown building, moving to Vagon Cloud Computer early is usually smarter than waiting until the file becomes painful to manage.
The best time to fix a performance problem is before it becomes part of your workflow.
This can be especially useful if you want to use Adobe Photoshop on Chromebook or keep working from a lighter device without giving up a stronger desktop-style environment.
Photoshop slowdown checklist
You do not need to rebuild your entire workflow every time Photoshop hesitates.
But when the same file keeps lagging, saving slowly, freezing, or feeling heavier than it should, don’t just keep pushing through it. Slowdowns usually leave clues. You just have to check the right places.
Area | What to check |
File size | Canvas dimensions, resolution, bit depth, artboards, and hidden layers that may be making the PSD heavier than it looks. |
Layers | Smart Objects, live effects, masks, filters, adjustment layers, and old experiments that are still sitting inside the file. |
Assets | Oversized imports, broken linked files, scattered references, synced folders, external drives, or cloud storage slowing the workflow down. |
Memory | RAM pressure, scratch disk space, available disk space, history states, and whether too many large files are open at once. |
GPU | Graphics processor settings, driver age, GPU memory, external displays, and display glitches that may point to acceleration issues. |
AI workflow | Generative layers, unused variations, hidden AI outputs, and extra references saved inside the main PSD. |
Workspace | Background apps, browser tabs, plugins, sync tools, screen recorders, and whether Vagon Cloud Computer would be a better place to keep working. |
This checklist is not about blaming one thing. That is usually not how Photoshop performance works.
A slow project is often the result of several small pressures stacking up at once: a heavy file, a crowded layer panel, low disk space, an overloaded GPU, active sync tools, and a few AI variations you forgot to clean up.
Fix the obvious problems first. Shrink what does not need to be huge. Delete what you know you will not use. Move heavy active files out of synced folders. Check scratch disk space. Update GPU drivers if needed. And if the project has clearly outgrown your local setup, move the work somewhere that can handle it better.
Photoshop is much easier to troubleshoot when you stop treating “slow” as one problem. It is usually a pile of smaller ones.
And if your workflow moves between desktop and tablet, our guide on how to use Photoshop on iPad may help you decide where each part of the work fits best.
FAQs
1. Why is Photoshop slow even with a good computer?
Because Photoshop performance is not only about having a “good computer.” A strong machine can still struggle with an oversized PSD, hundreds of layers, heavy Smart Objects, low scratch disk space, outdated GPU drivers, background sync tools, or too many AI-generated variations inside the file. Hardware helps, but file structure and storage habits matter too. If Photoshop is slow on a good computer, check the file first. Look at canvas size, hidden layers, Smart Objects, linked assets, scratch disk space, and whether the file is being edited from a synced folder or external drive.
2. Does Photoshop use CPU or GPU more?
Both, but not for the same things. Photoshop uses the CPU for a lot of general processing, calculations, filters, and file operations. The GPU helps with display performance, smooth zooming, canvas rotation, some accelerated effects, and certain newer features. A better GPU can help, especially with large displays and GPU-accelerated features, but it will not automatically make every Photoshop task faster. Saving a huge PSD, opening a massive file, or managing a messy layer stack may still depend heavily on CPU, RAM, and storage speed.
3. Why does Photoshop say scratch disk full?
Photoshop uses scratch disk space as temporary working storage when it needs more room than available RAM can provide. If the scratch disk is full, Photoshop may not have enough space for temporary files, history states, large edits, filters, or other operations. This can happen when your main drive is nearly full, the scratch disk is set to a small or slow drive, or the project itself is very large. Freeing disk space, choosing a faster scratch disk, clearing unnecessary files, and closing large unused documents can help.
4. Do Smart Objects slow down Photoshop?
They can. Smart Objects are useful because they preserve original content and keep edits flexible. But large embedded Smart Objects, duplicated Smart Objects, Smart Filters, and complex masks can make a PSD heavier. The goal is not to avoid Smart Objects. The goal is to use them intentionally. Keep them where editability matters, but do not let old experiments and oversized embedded files pile up inside the main PSD forever.
5. Can Generative Fill make Photoshop slower?
Yes, especially if you keep every generated result inside the PSD. Generative Fill and other AI-assisted features can create extra layers, masks, variations, and pixel data. A few generations are fine. A long session of experiments can make the file much larger and harder to manage. A cleaner approach is to keep an AI Variations group, name useful results, delete weak outputs, and export extra references outside the PSD if you might need them later.
6. When should I use Vagon Cloud Computer for Photoshop?
Use Vagon Cloud Computer when the project starts asking for more than your local machine can comfortably provide. That might mean large PSD files, many layers, high-resolution assets, AI-generated variations, external monitors, remote work, or switching between devices. If Photoshop technically runs but feels slow, unstable, or frustrating during heavier projects, Vagon Cloud Computer can give you a more powerful workspace without depending only on your local hardware. For small edits and lightweight files, your local machine may be enough. For heavier Photoshop work, it can be better to move early instead of waiting until the project becomes painful.
Get Beyond Your Computer Performance
Run applications on your cloud computer with the latest generation hardware. No more crashes or lags.

Trial includes 1 hour usage + 7 days of storage.
Summarize with AI

Ready to focus on your creativity?
Vagon gives you the ability to create & render projects, collaborate, and stream applications with the power of the best hardware.

Vagon Blog


Run heavy applications on any device with
your personal computer on the cloud.
San Francisco, California
Solutions
Vagon Teams
Vagon Streams
Use Cases
Resources
Vagon Blog
The First 30 Minutes in Blender 3D: A Practical Workflow Guide
What’s New in Godot 4.7? Key Features, Upgrades, and Workflow Improvements
What Slows Down Blender 3D Projects?
What Slows Down Adobe Photoshop Projects?
The First 30 Minutes in Adobe Photoshop: A Practical Workflow Guide
Before You Start in Adobe Photoshop: A Practical Setup Checklist
What’s New in Unreal Engine 5.8? Key Features and Upgrade Advice
How to Run Windows on an iPad: 4 Best Ways (2026)
How to Run Windows on Mac: Every Method Tested (2026)
Vagon Blog
Run heavy applications on any device with
your personal computer on the cloud.
San Francisco, California
Solutions
Vagon Teams
Vagon Streams
Use Cases
Resources
Vagon Blog